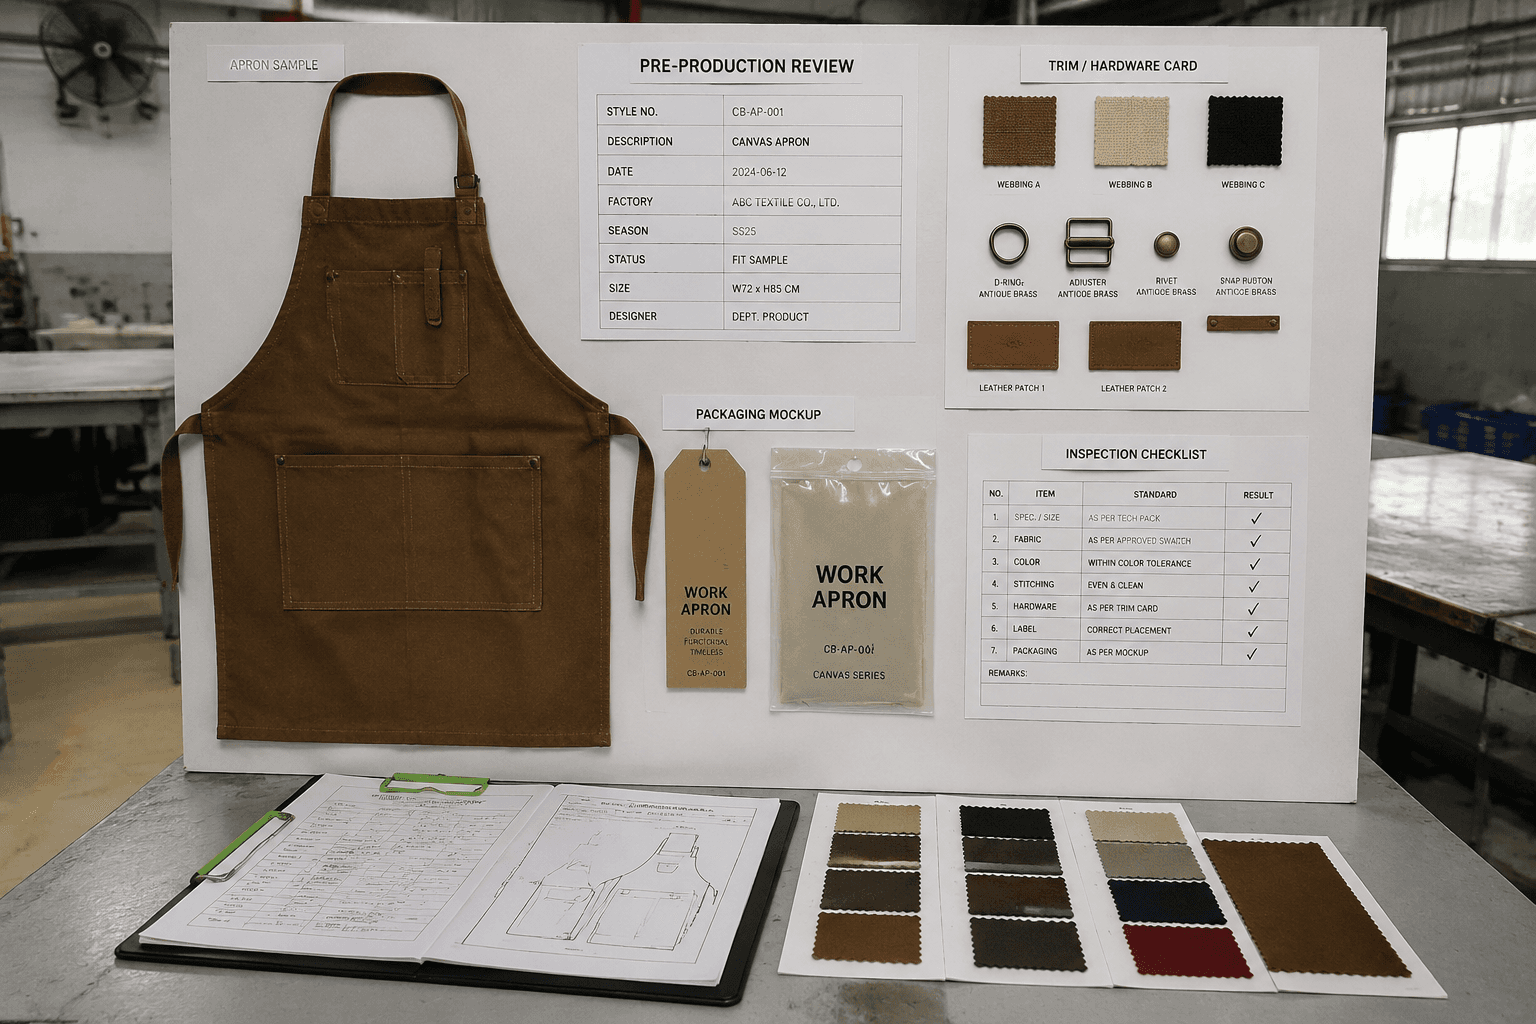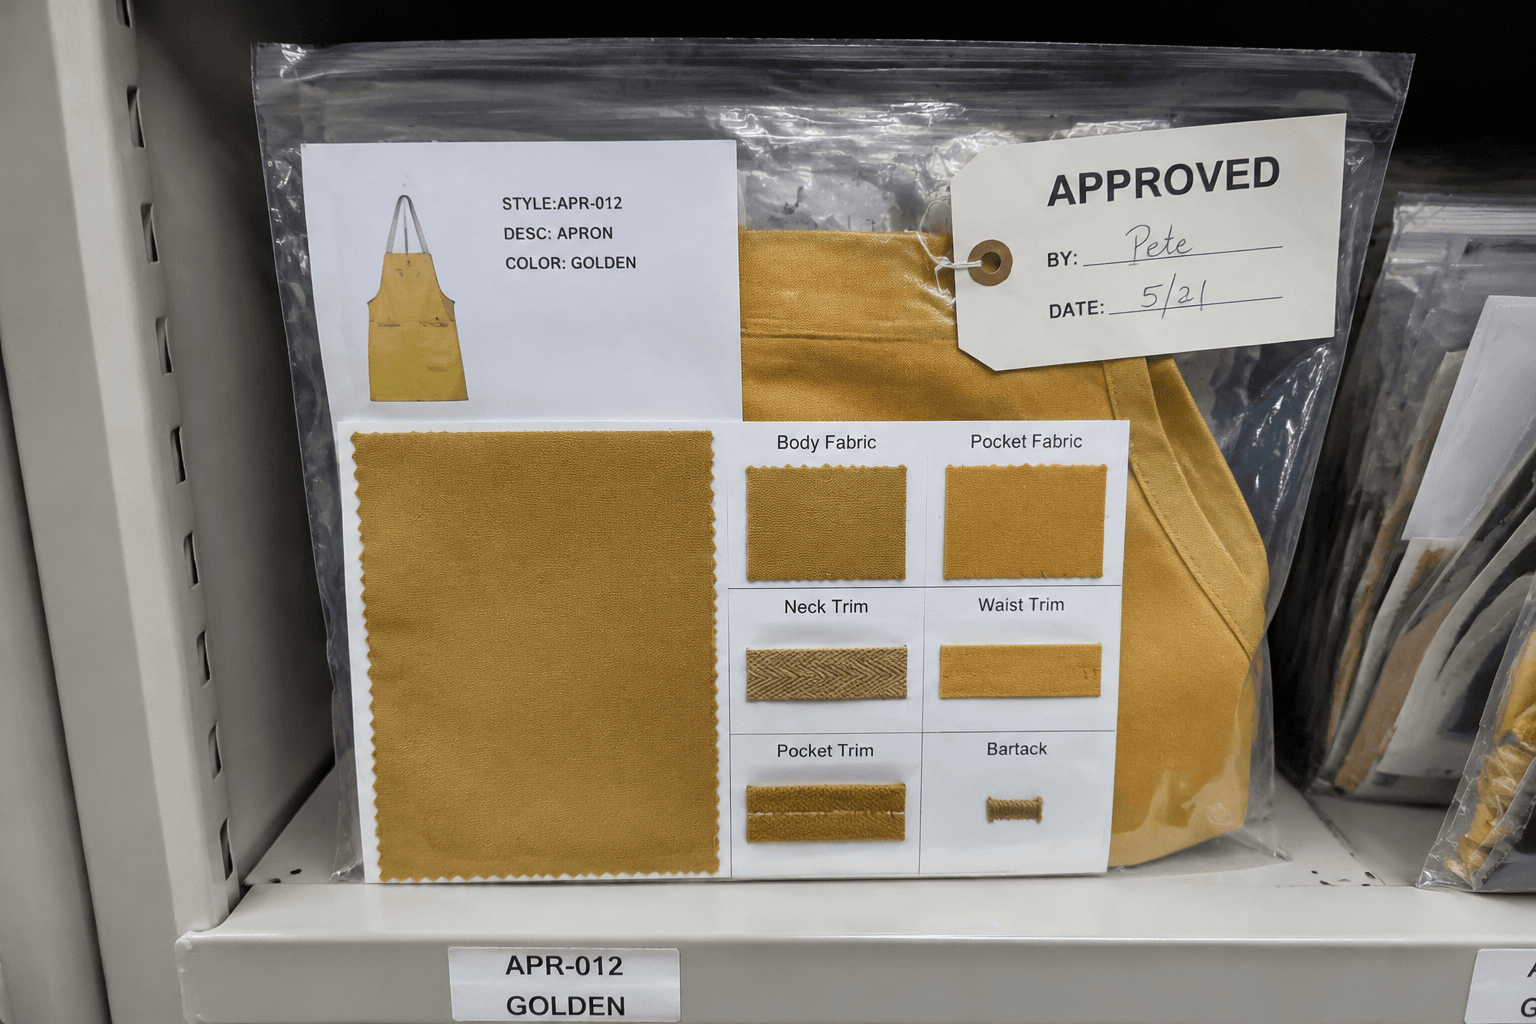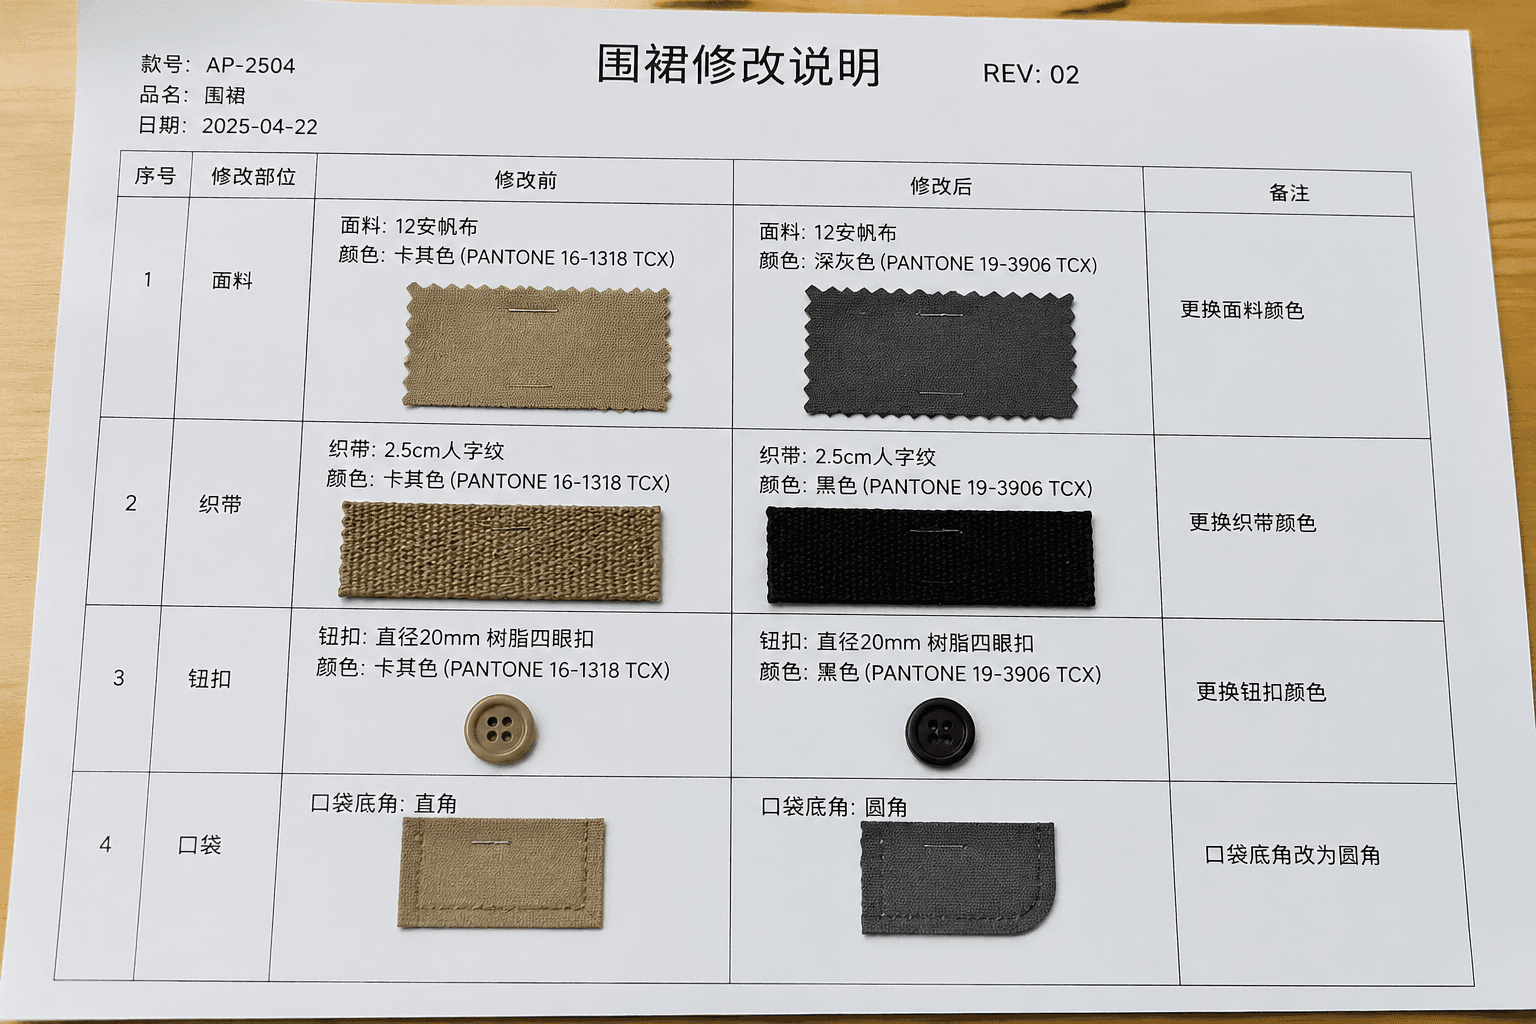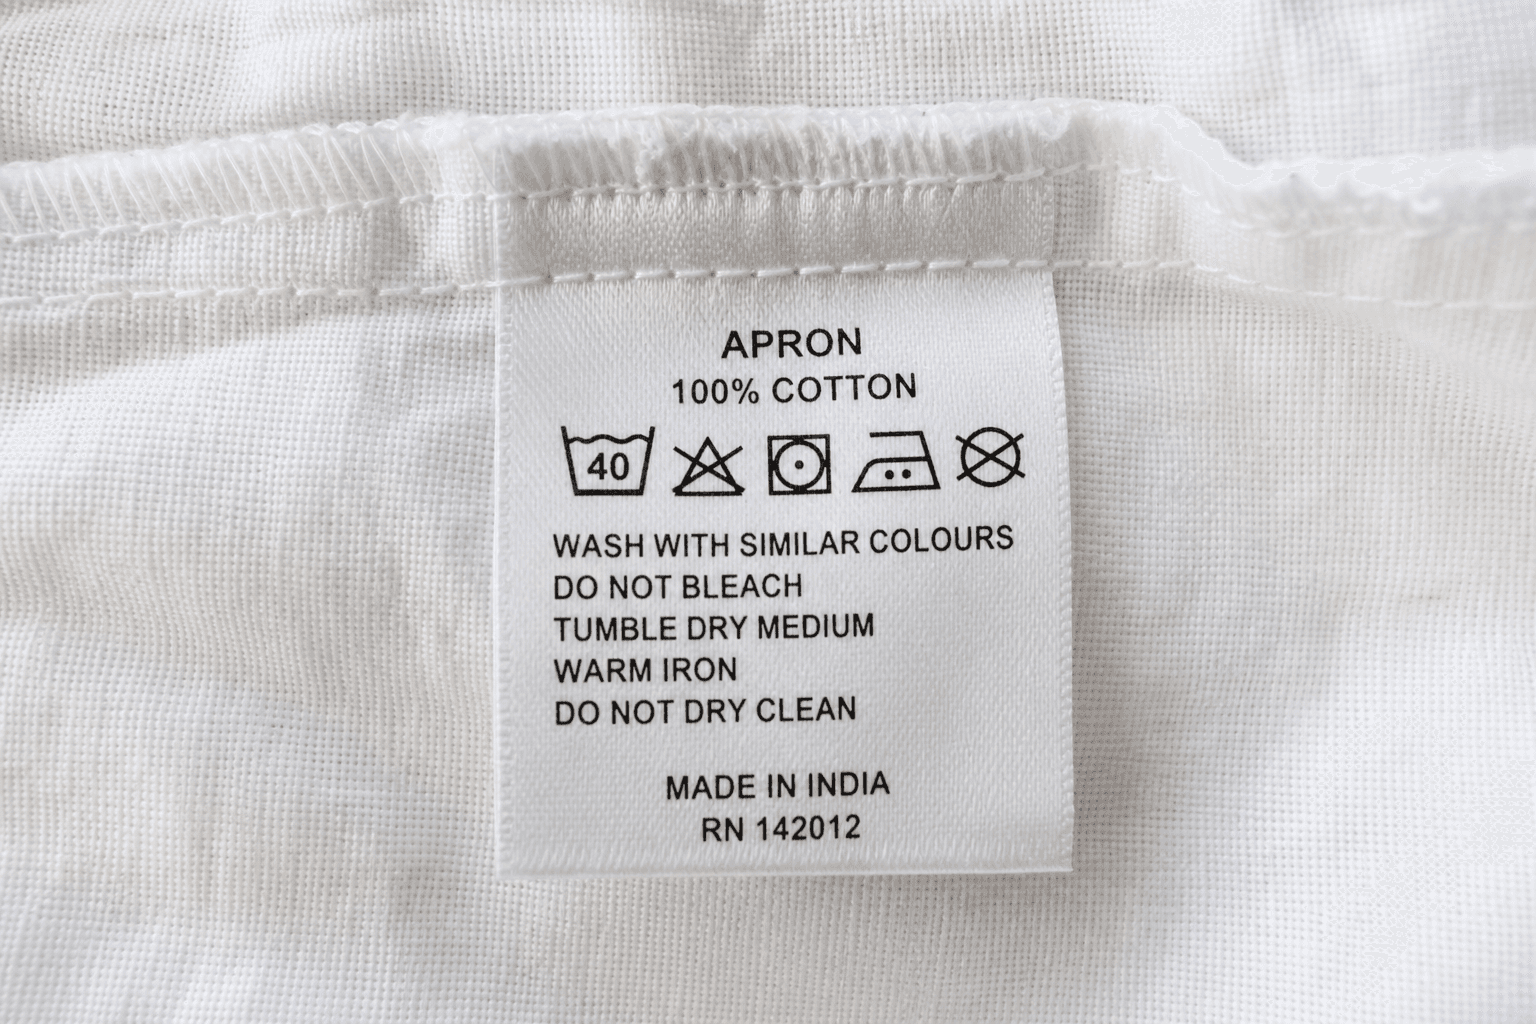
Many buyers prefer a crossback apron because it removes load from the neck, but that benefit does not come from the silhouette alone. It comes from measurable pattern decisions: strap exit spacing, strap angle, back crossing height, underarm curve depth, bib width, body width and waist attachment position. Crossback apron pattern engineering is the discipline of controlling those points so 500, 2,000 or 10,000 aprons wear the same in service, not just on one showroom sample.
The sourcing risk is that an early sample can feel acceptable on one wearer yet fail in bulk. A strap exit shifted 0.8 cm, an underarm scoop dropped 1.2 cm too low, or a bib width narrowed by 2.0 cm can change shoulder pressure, expose the side chest or pull the apron off center during movement. In apron OEM, neck relief, front coverage, strap stability and repeatable grading must be engineered as one system.
The commercial impact is manageable when addressed early and expensive when delayed. Revising a crossback block usually adds 4-7 development days per round, raises sewing cost by about 0.06-0.18 USD/pc, and can increase fabric consumption by 0.08-0.20 m per piece if the body or straps are enlarged. Those costs are lower than line rework, failed inline inspection, high return rates or poor staff adoption after rollout. That is why B2B buyers should review fit specs, tolerance tables, wearer range, shrinkage targets and pilot QC methods before authorizing bulk cutting.
- Neck relief comes from geometry, especially strap exit spacing, strap angle and crossing height, not from the word crossback on its own.
- Coverage must be checked by zone at chest, waist and upper thigh during movement, not only by flat length and width.
- Small pattern shifts matter; moving a balance point by 1.0 cm often changes fit more than adding 3.0 cm of strap length.
- Bulk consistency requires numeric controls for placement, symmetry, reinforcement, shrinkage and wash appearance.
- Faster sampling depends on precise comments with cm corrections, target wearer range and wear-test photos in every round.
Why crossback apron pattern engineering matters in bulk sourcing
In a professional apron program, crossback construction changes both ergonomics and factory execution. Instead of hanging the garment from the neck, the load path runs from the bib through two shoulder straps, across the back and into the side or waist attachment points. That affects how the apron behaves when staff bend over prep counters, carry trays, restock shelves or work 8- to 12-hour shifts.
For the factory, the issue is repeatability. A development sample can be pinned, hand-pressed or adjusted on one fit model. Bulk production cannot. Once an order reaches 1,000-3,000 pcs, even a stable sewing line can show 0.6-1.0 cm variation in strap placement if the pattern lacks fixed coordinates, notches and a written tolerance table. On crossback styles, that is enough to create left-right imbalance, bib drift and inconsistent shoulder feel.
This is why crossback apron pattern engineering should start from end use, fabric weight and wearer range rather than from a sketch alone. A 200-220 GSM poly-cotton twill server apron, a 240-280 GSM cotton canvas café apron and an 11-12 oz denim kitchen apron can share a similar silhouette but need different seam-bulk control, strap stabilization and coverage allowance. Buyers who treat those constructions as interchangeable usually absorb extra sample rounds and slower PPS approval.
- Typical MOQ is 300-500 pcs per color in stock fabric, 800-1,200 pcs per color in custom-dyed twill, and 1,000-1,500 pcs per color in custom-woven canvas or denim.
- A practical timeline is 7-10 days for proto 1, 5-7 days for fit sample 2, 3-5 days for PPS, then 25-40 days bulk lead time after PPS approval and deposit.
- Crossback sewing usually adds 12-20% more SMV than a basic neck-loop apron because of longer straps, crossing construction and extra reinforcement points.
- FOB pricing for standard crossback aprons at 500-3,000 pcs often falls around 3.20-6.80 USD/pc in twill and 6.50-11.00 USD/pc in washed canvas or denim with custom trims.
Build a fit spec that the pattern room can execute
Most crossback fit failures start in the tech pack. Buyers often specify finished length, width and pocket size, but omit the measurements that actually control comfort and protection. A usable apron spec must define wearing intent, target body range and the critical points that hold the bib in position. Without those inputs, the factory is forced to interpret comments such as less neck pressure or better side coverage after the sample is already sewn.
The visual section should state top bib width, finished length, hem sweep, strap width, topstitch gauge, pocket dimensions and branding position. The functional section should state strap exit spacing, crossing height on the back, underarm curve depth, waist attachment location, effective front drop under load and intended wearer range. For a one-size unisex hospitality apron, that range should be written clearly, for example height 160-180 cm and chest circumference 88-110 cm.
As a realistic starting block for adult foodservice use, many factories work from body width 70-74 cm, finished length 84-90 cm, top bib width 25-29 cm and strap width 2.8-3.2 cm. If the apron will carry order pads, handheld devices, thermometers or bar tools, that load should be included in proto development. Waiting to address pocket weight and strap pull after a failed fit review usually costs another 5-7 factory days plus freight.
- Set strap placement tolerance at ±0.5 cm for sample approval and ±0.7 cm for bulk inspection.
- Define allowable finished measurement tolerance at ±1.0 cm on body width and length after final pressing unless a wash process requires a wider band.
- Record the vertical distance from high chest point to apron top edge so the bib position is repeatable across samples.
- Approve fit on at least two body types before confirming any apron sold as one-size unisex.
- State shrinkage target up front, such as maximum 3% lengthwise and 3% widthwise after one care cycle for yarn-dyed or reactive-dyed fabric.
Crossback apron pattern engineering at the main balance points
When a crossback apron feels wrong, the cause is usually not the nominal size. It is more often the location of a few balance points that determine how the bib hangs and how the straps distribute load. These points decide whether the apron stays centered, whether the straps sit flat on the shoulders and whether the body panel hangs vertically instead of rotating toward the neck or twisting across the torso.
The first balance point is the strap exit position at the top of the bib. If the exits sit too close to center, the straps migrate toward the neck base and the style loses its comfort advantage. If they sit too far outward, the bib can collapse inward at the armhole side and reduce practical chest coverage. The second balance point is the underarm curve depth. Too high restricts reach; too low exposes the side chest and reduces splash protection. The third is the side or waist attachment point, which determines how firmly the front panel pulls against the torso during movement.
In wear trials, moving one of these points by only 1.0 cm often changes comfort more than lengthening each strap by 3.0 cm. For that reason, capable OEM factories mark the critical coordinates directly on the paper pattern, marker and sewn sample, then freeze them before grading. Once those points are locked, later decisions about strap length, pocket height or hem length become much faster and less subjective.
- Top bib strap exit spacing often performs well in the 19-23 cm range, depending on bib width and target wearer range.
- Back crossing height is usually most stable around the upper-to-mid scapula zone rather than close to the neck or too low near the waist.
- Underarm curve drop often needs its own grade rule instead of scaling in direct proportion to total body width.
- Waist attachment points should be mirrored with template control to keep left-right deviation within ±0.5 cm after sewing and pressing.
- For two-size programs, split S/M and L/XL rather than forcing one block to cover a chest range wider than about 22 cm.
Control strap angle, seam bulk and reinforcement before bulk cutting
Among production risks, strap angle inconsistency is one of the quickest wearers to notice and one of the easiest buyers to miss during flat measurement review. An apron can pass length and width checks yet still wear poorly if the left and right straps are inserted at different angles. The result is twisting, uneven shoulder loading, bib drift and more fit complaints even when fabric and general workmanship look acceptable.
Three factors usually drive the problem: the cut angle of the strap or strap extension, the insertion angle at the bib seam, and distortion during turning, pressing or topstitching. On heavier shell fabrics such as 10 oz canvas or 11-12 oz denim, seam bulk can push the strap outward by several millimeters unless seam allowances are graded correctly. On lighter 200-220 GSM twill, the larger risk is stretch distortion during folding and steam pressing.
A disciplined supplier checks angle control during pilot sewing rather than waiting for final inspection. For a new crossback style, many factories review the first 20 pcs against an acrylic or hard-paper placement template, then sample every 50 pcs until the line stabilizes. That control step adds a small labor cost but is far cheaper than reworking 800 finished aprons because the straps skew after topstitching.
Reinforcement must also match the service environment. A hospitality apron carrying a 350 g order device and tools places more stress on the upper bib and side join than a promotional apron worn only for short demonstrations. Reinforcement should therefore be specified by location and stitch type, not left to line discretion.
- Set maximum finished left-right strap angle deviation at 3 degrees.
- Use stay tape or localized fusible reinforcement at the bib top when shell fabric is below 220 GSM and straps are load bearing.
- Use bartack or box-x reinforcement at every high-stress join, especially where loaded pocket weight can reach 300-500 g.
- Expect reinforcement and template positioning controls to add about 0.05-0.12 USD/pc depending on fabric thickness and stitch count.
- Inspect first 20 pcs on pilot, then every 50 pcs inline until no placement drift appears for two consecutive checks.
Specify coverage by zone, not by flat size alone
Coverage should be approved as a wearing result, not only as a flat measurement. Buyers often review front-view photos and approve the sample because the overall length appears generous. In use, a crossback apron can still underperform if the bib narrows too sharply at chest level, the underarm scoop drops too low or the side body opens during reaching and turning. These failures are common when comfort is prioritized without enough coverage mapping.
For B2B sourcing, it is practical to evaluate coverage in three zones: upper chest, waist-abdomen and upper thigh. The upper chest zone affects modesty, brand presentation and splash protection. The waist-abdomen zone matters most in daily service because that area repeatedly contacts counters, trays and prep surfaces. The upper thigh zone matters for bending, kneeling and carrying stock through narrow aisles. Each zone should be reviewed both flat and on-body because drape changes with fabric weight, wash finish and strap tension.
Consider a café apron in 260 GSM cotton canvas, flat size 72 x 86 cm. On paper, that appears more protective than a 70 x 82 cm style. But if the larger apron uses only a 23 cm bib width and a deep underarm scoop, actual chest coverage may be worse than the smaller apron built with a 27 cm bib and more stable side balance. This is where crossback apron pattern engineering directly affects sourcing outcomes: nominal dimensions do not guarantee useful protection.
PPS approval should therefore include neutral stance, reach-forward and side-turn photos on the declared wearer range. If the program involves industrial laundry or garment wash, coverage should be rechecked after laundering because body lift and bib narrowing can increase once shrinkage settles.
- Measure chest coverage 15 cm below the top edge, not only at waist width.
- Record side-wrap overlap or gap at waist level on at least two target body types.
- Check effective front drop during motion because crossback straps can lift the body panel by 1-3 cm when the wearer bends.
- For better programs, recheck coverage after 3 home launderings or 5 industrial wash cycles.
- Reject samples that meet flat spec but expose the side chest during reach or torso rotation.
Reduce sample rounds, grading risk and hidden cost in apron sourcing
Crossback apron development becomes expensive when comments remain subjective. Feedback such as cleaner strap line, less neck pull or more side coverage is useful, but it does not tell the pattern room what to move. Efficient projects combine wear comments with flat measurements, worn photos and numeric corrections in centimeters. That allows the factory to revise the block once instead of guessing through multiple rounds.
In a disciplined OEM workflow, proto 1 confirms silhouette, approximate dimensions and construction feasibility. Sample 2 should lock the engineered fit: strap exit geometry, crossing level, underarm depth, front drop and side-wrap behavior. By PPS, fit should already be frozen and discussion should shift to labels, logo placement, topstitch appearance, trim color, fold method and packing. If fit is still open at PPS, the production calendar usually slips by at least one week.
The cost effect is often underestimated. Each extra sample round typically adds 4-7 factory days plus courier time. If a revision widens the body by 4 cm and lengthens each strap by 6 cm, total fabric usage on 150 cm-wide canvas can rise by roughly 0.10-0.16 m per piece, depending on marker efficiency. At 2.40-3.60 USD/m fabric cost, that alone adds around 0.24-0.58 USD/pc before labor, overhead and wastage are recalculated.
Grading creates a second layer of risk. A one-size apron reduces SKU count and simplifies replenishment, but it works only if the approved block truly covers the claimed wearer range. If the range is broad, many buyers are better served by splitting into S/M and L/XL and applying separate grade rules for bib width, strap length and underarm depth rather than scaling every point proportionally.
QC should reflect those engineering priorities. Final inspection should verify not only garment length and width but also critical placement points, left-right symmetry, bartack security, seam slippage and wash appearance if the apron is softened, enzyme washed or garment dyed. For many mid-range programs, AQL 2.5 for major defects and AQL 4.0 for minor defects is realistic, with strap asymmetry, open seams, broken reinforcement and severe skew classified as major defects.
- Use one comment sheet that separates fit changes, construction changes and cosmetic changes.
- Budget 2-3 sample rounds for a new crossback block and 1-2 rounds for pocket, color or branding variants.
- Freeze shell fabric, wash process and shrinkage allowance before final fit approval.
- For graded sizes, create independent rules for strap length, bib width and underarm depth rather than one proportional scale.
- Apply AQL 2.5 major and AQL 4.0 minor, with symmetry, reinforcement and wash appearance included in the inspection checklist.