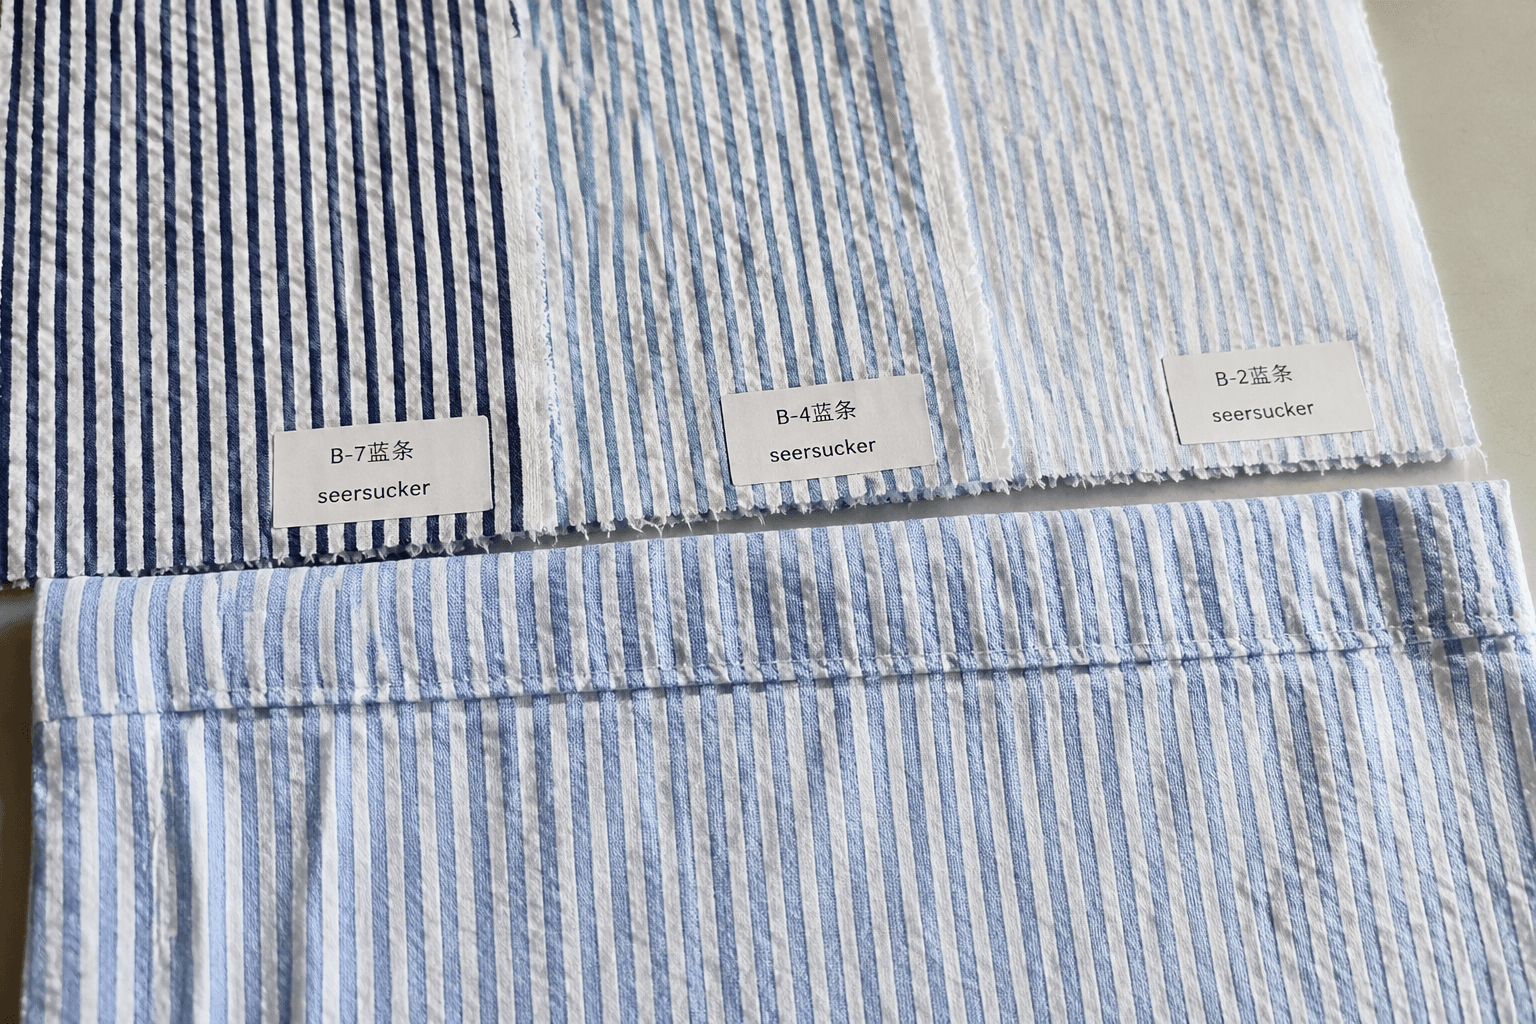
In bib apron manufacturing, the top edge often fails before pockets, side seams or waist ties. A neckline that kicks outward, tunnels along the stitch line or widens after 3 to 5 wash cycles makes the whole apron look downgraded, even when the shell fabric, print and bartacks meet spec. For sourcing teams, apron top edge construction should be approved as an engineering detail with numeric tolerances, not from a freshly pressed salesman sample.
Most bulk failures come from stacked variables rather than one obvious sewing error. Soft shell fabric, a shaped neckline, uneven seam allowance, strap tension at the corners, shrinkage mismatch between shell and reinforcement, and over-pressing can all distort the bib top. A 170 GSM plain-weave cotton promo apron, a 210 GSM poly-cotton twill hospitality apron and a 10 oz canvas workshop apron do not need the same neckline method.
For professional buyers, the practical question is not which finish sounds more premium. It is which construction holds the approved neckline shape through packing, hanging and washing within the required lead time and cost. In a typical OEM apron program, top-edge choices change fabric consumption by about 0.03 to 0.09 m per piece, sewing time by 18 to 65 seconds, and ex-factory cost by roughly US$0.03 to US$0.26 at MOQ 1,000 to 5,000 pcs.
- Facing is usually the safest option for curved bib necklines in the 150 to 240 GSM range and typically adds US$0.08 to US$0.20 per piece.
- Turn-back construction is more efficient on 220 to 320 GSM shell fabrics or 8 to 10 oz workwear cloth, but it is less stable on soft curved bibs.
- Stay tape is a low-cost control for seam-line growth, especially when 20 to 25 mm webbing, sliders or D-rings pull on the upper corners.
- The main failure points are strap insertion zones, neckline curve accuracy, seam trimming consistency and shrinkage mismatch between shell, fusible and tape.
- A stable bib top should be checked after 24 hours hanging, after 24 hours under carton compression and after at least 3 to 5 wash cycles.
- For orders above 3,000 pcs, spending an extra US$0.06 to US$0.12 on apron top edge construction is usually cheaper than rework, chargebacks or post-wash claims.
Why apron top edge construction fails early in bulk bib apron orders
The bib top is both a visual focal point and a stress-bearing seam. It frames the wearer’s chest line, carries neck-strap load and often includes a shallow or medium curve that naturally wants to spread after cutting, sewing, packing and laundering. In bulk production, failure usually appears as center-front roll-out, corner flare near the strap joins, roping along the topstitch line or a neckline that becomes flatter and 4 to 10 mm wider after wash and drying.
In factory troubleshooting, five conditions account for most instability. First, the shell may be too soft for the selected finish, such as 165 to 180 GSM brushed cotton that looks crisp after pressing but loses definition after 48 hours in a master carton. Second, the neckline curve may be cut or notched inconsistently, so the left and right sides feed differently under the presser foot. Third, a 20 mm to 25 mm neck strap with a slider, D-rings or buckles can pull the top corners upward and reshape the seam line. Fourth, inconsistent trimming on the turn creates twist after the edge is reversed. Fifth, pressing may lock the wrong shape into the seam before topstitching can stabilize it.
For buyers, this is a structural issue, not a cosmetic one. Re-pressing may improve the sample before inspection, but it does not correct seam-line growth or weak corner engineering. If the top edge is under-specified, distortion usually returns in warehouse storage, on retail hangers or after the first laundry cycles. That is why neckline stability should be written into the tech pack with dimensions, reinforcement, wash criteria and inspection points.
- Typical visible defects: center roll-out, strap-corner flare, asymmetric curve, stitch-line tunneling and post-wash waviness.
- High-risk specifications: shell fabric below 190 GSM, bib width above 28 cm, deep neckline curve, adjustable neck hardware and packed-flat presentation.
- Useful inline QC limits: left-right neckline variation within 3 mm, topstitch offset tolerance within 1 mm and edge waviness below 5 mm after 24 hours hanging.
Facing in apron top edge construction: best control for shaped bib necklines
A facing uses a separate internal panel shaped to the neckline, usually extending 4 to 7 cm below the top edge. For bib aprons with a curved or sculpted neckline, this is usually the most controlled option because it supports the cut edge without forcing a heavy rolled fold. It is well suited to softer and medium-weight fabrics, retail-facing bib aprons and hospitality uniform programs where the neckline affects perceived value in photos, store display and staff issue.
On 150 to 210 GSM cotton twill, 65/35 poly-cotton plain weave or lightweight printed fabric, a self-fabric facing paired with 20 to 30 gsm fusible usually gives the flattest result. On 220 to 240 GSM firmer twill, many factories skip fusible and rely on a wider facing, accurate understitching and a 1.5 to 2.5 mm topstitch from edge to avoid a boardy hand. If developed correctly, facing helps the neckline keep its approved curve after carton pressure and after 5 home-laundry cycles at 40°C.
The trade-off is cost and handling time. Facing adds one pattern piece, more cutting control and one additional sewing operation that must be fed accurately around the curve. In a typical East China sewing line, it adds about 30 to 55 seconds per piece and increases fabric consumption by roughly 0.04 to 0.08 m, depending on bib width and facing depth. At MOQ 1,000 to 3,000 pcs, that usually raises ex-factory cost by US$0.08 to US$0.20 per apron. For hotel uniforms, branded café aprons and boutique retail programs, that uplift is often justified because the bib top looks cleaner through transport, steaming and repeated use.
- Best use range: 150 to 240 GSM cotton twill, poly-cotton plain weave, yarn-dyed checks and shaped bib necklines.
- Typical build: 4 to 7 cm facing depth, 1.5 to 3 mm topstitch offset, optional understitch and 20 to 30 gsm fusible on softer shells.
- Main control point: fusible shrinkage should stay within 1% of shell shrinkage to avoid bubbling, draw-in or neckline rippling after wash.
Turn-back apron top edge construction for 220 to 320 GSM workwear and value programs
Turn-back construction folds the bib top inward and secures it with topstitching instead of adding a separate facing. Its sourcing advantage is efficiency: fewer components, simpler cutting and less matching work on the sewing line. On the right fabric and bib shape, it is durable, clean and commercially efficient, especially for utility aprons, workshop styles and straight-top bibs where cost and robustness matter more than a sculpted neckline.
This method performs best when the shell already has enough body to resist rolling. In practice, that usually means 220 to 320 GSM canvas, drill or firm twill, or about 8 to 10 oz workwear fabric. A common build is a 15 mm first fold plus a 15 mm second fold, while some patterns use a single 25 mm clean turn when the neckline is nearly straight. In these ranges, a turn-back edge often saves 18 to 35 sewing seconds versus facing and lowers ex-factory cost by around US$0.05 to US$0.11 per piece. On orders above 5,000 pcs, that saving can materially improve margin without changing the basic apron silhouette.
Its weakness is shape control on soft curves and thickness at the upper corners. On 170 to 200 GSM soft twill, the folded edge does not stop the seam line from growing, so the neckline may spread after washing. On heavier canvas, multiple folded layers plus inserted webbing can create corner bulk that feeds unevenly and leaves the left and right neckline points mismatched by 3 to 6 mm. Buyers should not approve this finish from a flat sample only. A proper review should include a hanging photo, a post-wash sample and a corner-thickness check where straps or hardware enter the bib.
- Best fit: 220 to 320 GSM canvas, drill and firm 8 to 10 oz twill with straight or shallow-curve bib tops.
- Main savings: one less component, simpler cutting flow and about US$0.05 to US$0.11 lower cost than facing.
- Main risks: fold-width inconsistency, heavy corner bulk, top-corner drag from strap insertion and wash roping on softer shell fabrics.
Stay tape reinforcement: low-cost insurance against neckline growth
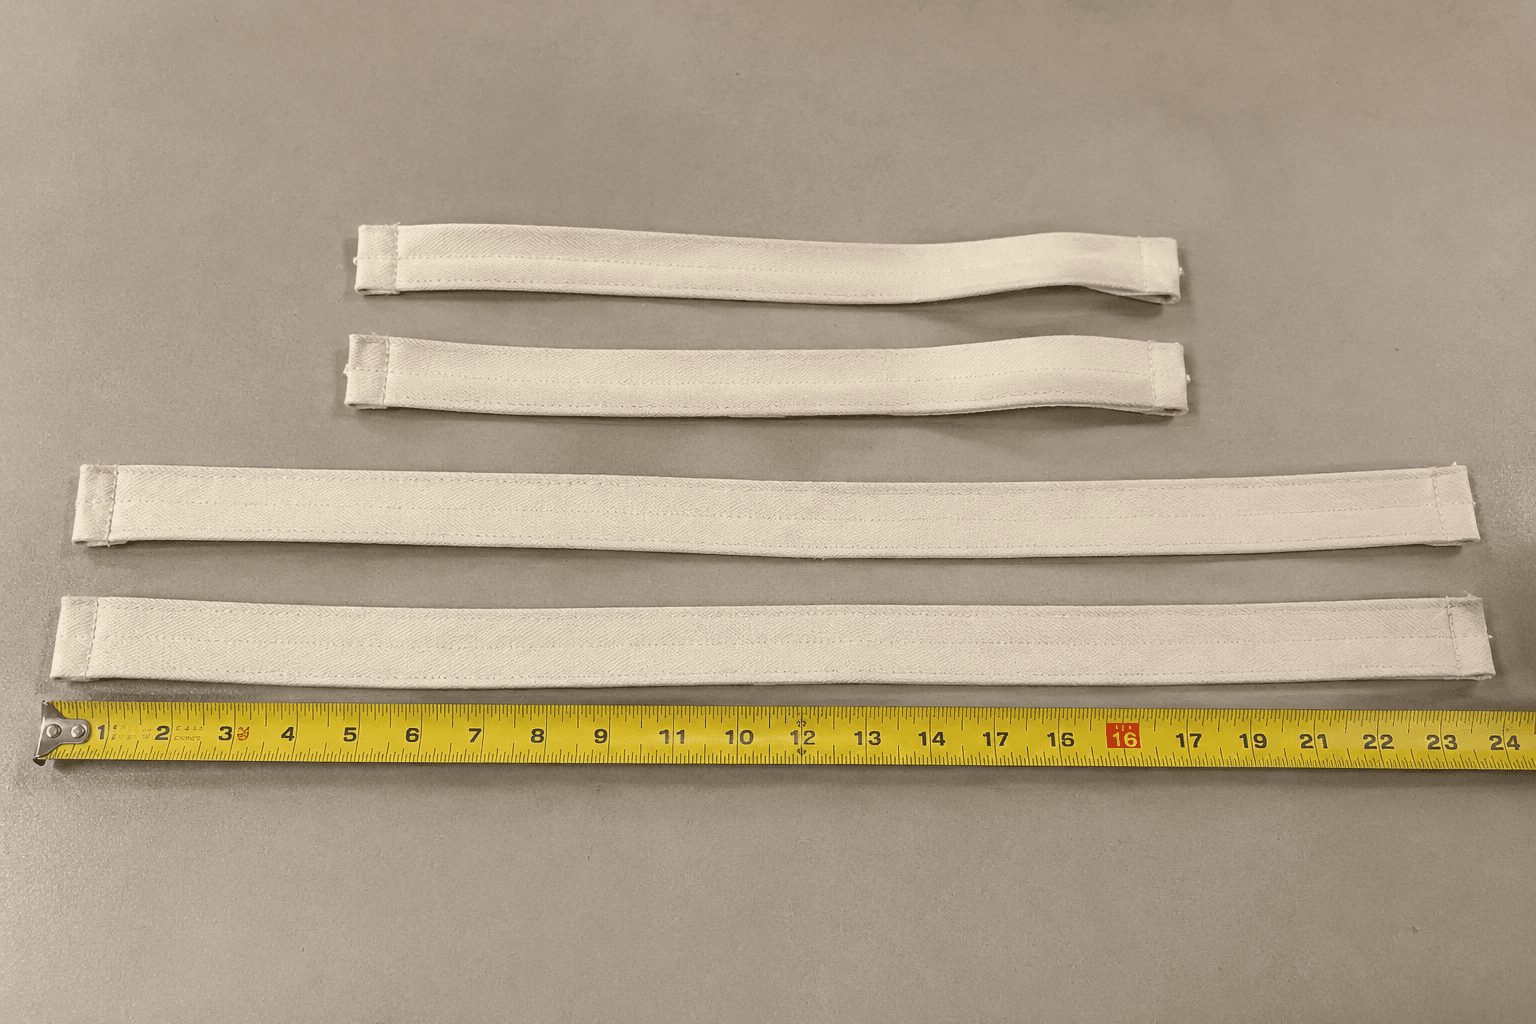
Stay tape is a structural control, not a cosmetic add-on. In apron production, factories commonly use 6 mm, 10 mm or 12 mm cotton tape, poly-cotton tape or herringbone tape along the neckline seam to stop the bib top from stretching under wear and laundering. The tape can sit under a facing, inside a turn-back or within a bound finish. Its job is simple: hold the seam line to the approved length even when neck straps repeatedly pull on the corners.
This option is especially effective when the edge finish looks acceptable on the first sample but fails after load or wash testing. For example, a 180 GSM cotton twill bib with a 25 mm polyester webbing neck strap and zinc-alloy slider often shows 4 to 8 mm less neckline growth after 5 wash cycles when stay tape is added. That difference is commercially important because it often separates a neckline that still looks square on-body from one that looks loose and flattened at store receipt or staff issue. On cross-back aprons, tape can still help where the bib top is curved, although direct load is lower than on halter styles.
The key is compatibility. If tape shrinkage exceeds shell shrinkage, the neckline puckers after washing. If the tape is too rigid, the edge feels wiry and may not sit cleanly against the chest. If the tape stops short of the real stress zone near the strap insertion, the distortion simply shifts to the next unsupported area. For most adult bib aprons, this is one of the lowest-cost functional upgrades available, typically adding US$0.03 to US$0.09 per piece and 8 to 18 seconds of sewing time.
- Recommended width: 6 to 10 mm for 150 to 210 GSM shell fabrics; 10 to 12 mm for heavier shells.
- Best use cases: adjustable neck straps, metal hardware, deep neckline curves and wash standards above 3 cycles.
- Main specification check: tape shrinkage should stay within about 1% of shell-fabric shrinkage to prevent post-wash puckering.
How fabric weight, strap load and apron style determine the right neckline method
Construction should be chosen only after fabric weight, neckline shape and strap configuration are reviewed together. A 180 GSM reactive-dyed cotton bib with self-fabric straps behaves very differently from the same bib fitted with 25 mm webbing, antique-brass sliders or PU-reinforced tabs. Hardware concentrates force at the upper corners, so even a clean salesman sample can distort in wear if the seam line is not stabilized. This is why a finish that works on a low-cost promotional apron may fail on a chef apron or branded hospitality style with adjustable trim.
As a practical sourcing rule, shell fabrics below 170 GSM usually need facing or a tape-supported solution unless the neckline is nearly straight. From 180 to 240 GSM, the correct choice depends on weave density, finishing softness, bib width and curve depth. Above 250 GSM, fold-based methods become more viable, but the main risk shifts from roll-out to corner bulk and feeding inconsistency. Buyers comparing ounce and GSM specs should note that 7 oz is about 237 GSM, 8 oz about 271 GSM and 10 oz about 339 GSM. Those conversions matter because a build that stays balanced at 7 oz may become too thick at 10 oz.
Apron style changes the load path as well. Cross-back aprons spread weight over the shoulders and reduce direct neckline tension. Standard halter bib aprons place more upward force on the top edge, especially when the neck strap is adjusted short for smaller wearers. In practice, a 10 oz cross-back canvas apron may perform well with a turn-back edge, while a 190 GSM halter bib with metal hardware may need facing plus stay tape to pass wash and hanging tests. For buyers, the correct apron top edge construction is never chosen by fabric weight alone.
- Below 170 GSM: use facing or tape-supported construction; avoid unsupported curved turn-backs.
- 180 to 240 GSM: decide by hand feel, bib width, curve depth, wash requirement and strap hardware.
- 250 GSM and above: turn-back is often viable, but top-corner bulk, feed consistency and needle penetration must be checked.
Sampling, AQL and cost control for stable apron necklines
The right time to control neckline performance is before bulk cutting, not during final inspection. For apron sourcing, a practical approval flow is development sample, pre-production sample and one washed confirmation sample before bulk release. Each sample should be checked in three states: laid flat after pressing, hung for 24 hours and recovered after 24 hours in folded-carton condition. Many top-edge defects do not show on the sewing table; they appear only after packing pressure or laundering releases hidden tension in the seam.
Buyers should require measurable sewing data on the sample comment sheet. At minimum, record finished neckline width, curve depth, seam allowance, stitch density, topstitch distance from edge, facing depth or tape width, and whether fusible is used. Without those figures, a factory can reproduce the visual look of the approved sample while quietly reducing structural support in bulk to save time or material. For inspection, appearance can be managed under AQL 2.5 for major defects and AQL 4.0 for minor defects, but numeric tolerances still need to be specified separately because visual checks alone do not capture seam-line growth or asymmetry.
Cost benchmarking is usually straightforward. On a standard adult bib apron at MOQ 1,000 pcs, moving from a basic folded edge to a facing typically adds US$0.08 to US$0.20. Adding stay tape only usually adds US$0.03 to US$0.09. Combining facing and stay tape commonly adds US$0.11 to US$0.26. Bulk lead-time impact is often limited to 1 to 3 extra days when shell fabric and trims are already in-house, while development may require 3 to 7 additional days if wash testing, pattern correction and second-round approval are needed. On orders above 3,000 pcs, these upgrades are usually economical because the added development cost is spread across more units.
- Sample checks: pressed-flat review, 24-hour hanging test, 24-hour packed-carton recovery and 3 to 5 wash cycles.
- Required records: neckline width, seam allowance, stitches per 3 cm, topstitch offset, facing depth, tape width and fusible specification.
- Inspection benchmark: AQL 2.5 major and AQL 4.0 minor for appearance, with separate numeric tolerances for symmetry, width change and edge waviness.
A sourcing matrix for choosing the best apron top edge construction
There is no universal best method for every bib apron program. A low-cost promotional apron with a shallow neckline and no hardware may work with a clean turn plus selective tape support if the wash requirement is light and the target cost is below US$2.20 ex-factory. A retail-ready bib apron with a shaped top line, chest logo placement and gift-box presentation usually benefits from facing because neckline appearance directly affects first quality perception. A workshop apron in 8 to 10 oz canvas often performs well with a controlled turn-back, provided the top corners are not overloaded by thick webbing, rivets or metal adjusters.
The most reliable buying decision comes from matching the method to the real failure risk. If the main risk is seam-line stretch, add stay tape. If the main risk is weak curve definition on a soft bib, specify facing. If the main risk is cost pressure on a heavy fabric with a simple neckline, use turn-back. If two risks are present at once, such as 190 GSM soft twill plus an adjustable metal neck strap, combine methods instead of forcing one finish to solve every problem.
For professional buyers, this approach is more effective than defaulting to the cheapest seam detail on the costing sheet. A stable neckline improves first-pass inspection, reduces steaming and re-pressing rework, lowers post-wash complaints and protects the commercial impression of the entire apron line. In sourcing terms, apron top edge construction is a small cost item with a disproportionate effect on bulk consistency, retailer acceptance and repeat-order confidence.
- Choose facing for soft to midweight fabrics, shaped bib tops and programs where display appearance matters.
- Choose turn-back for heavier fabrics, simpler bib shapes, higher MOQs and cost-sensitive workwear orders.
- Choose stay tape when wash repetition, strap hardware or seam-line growth is the main cause of neckline failure.