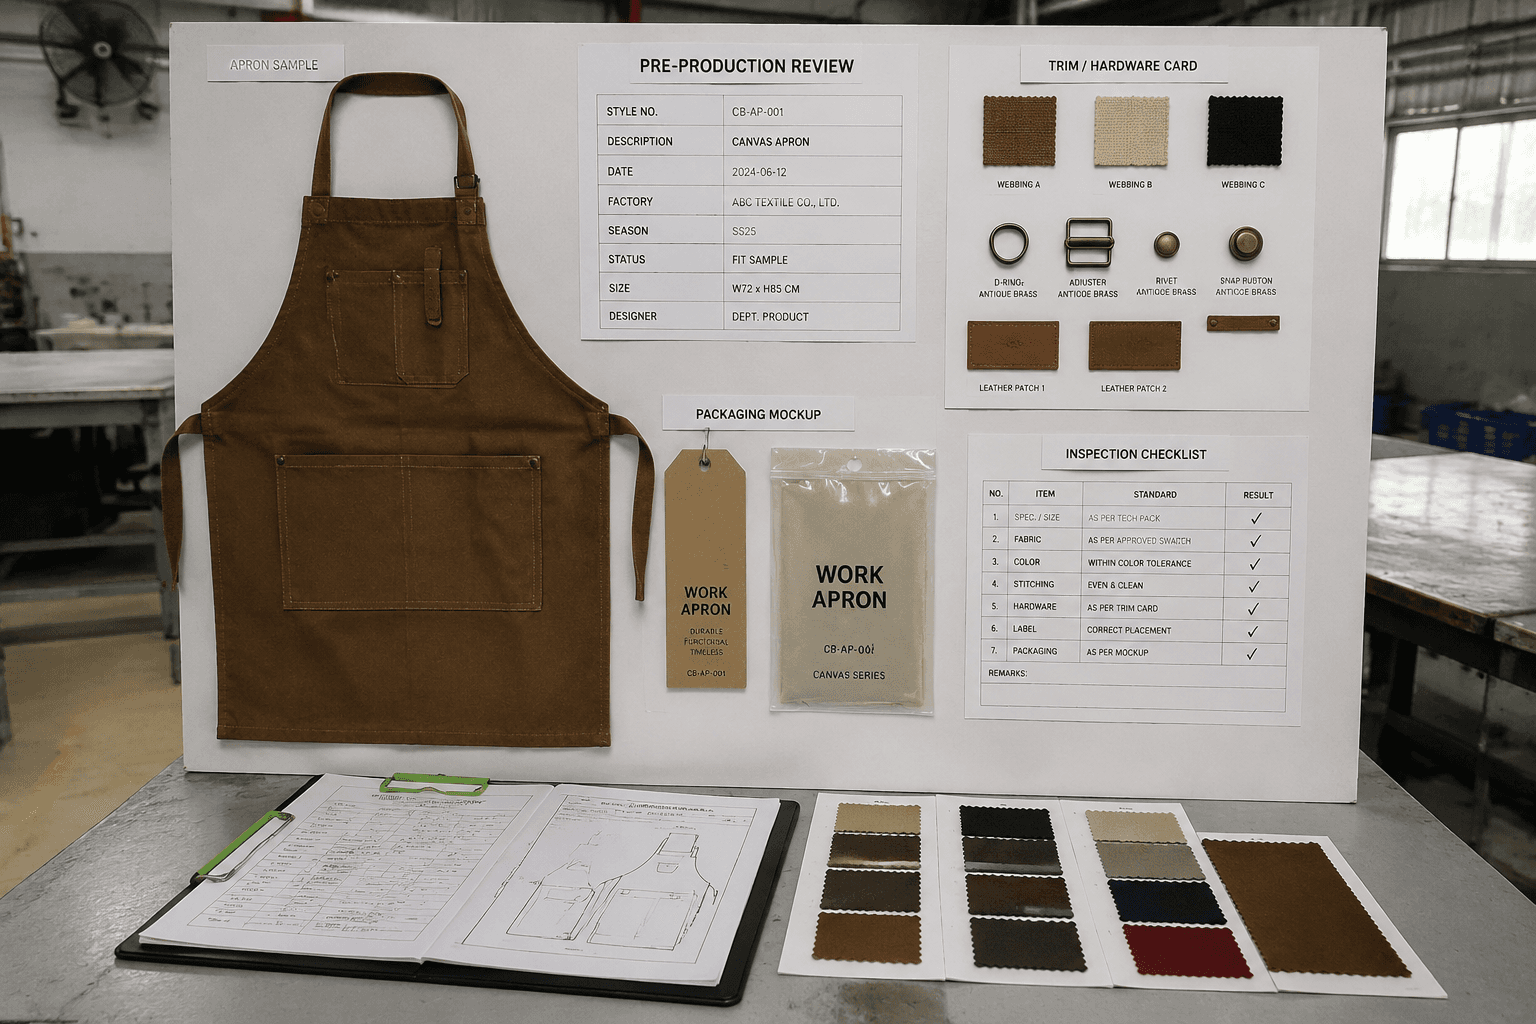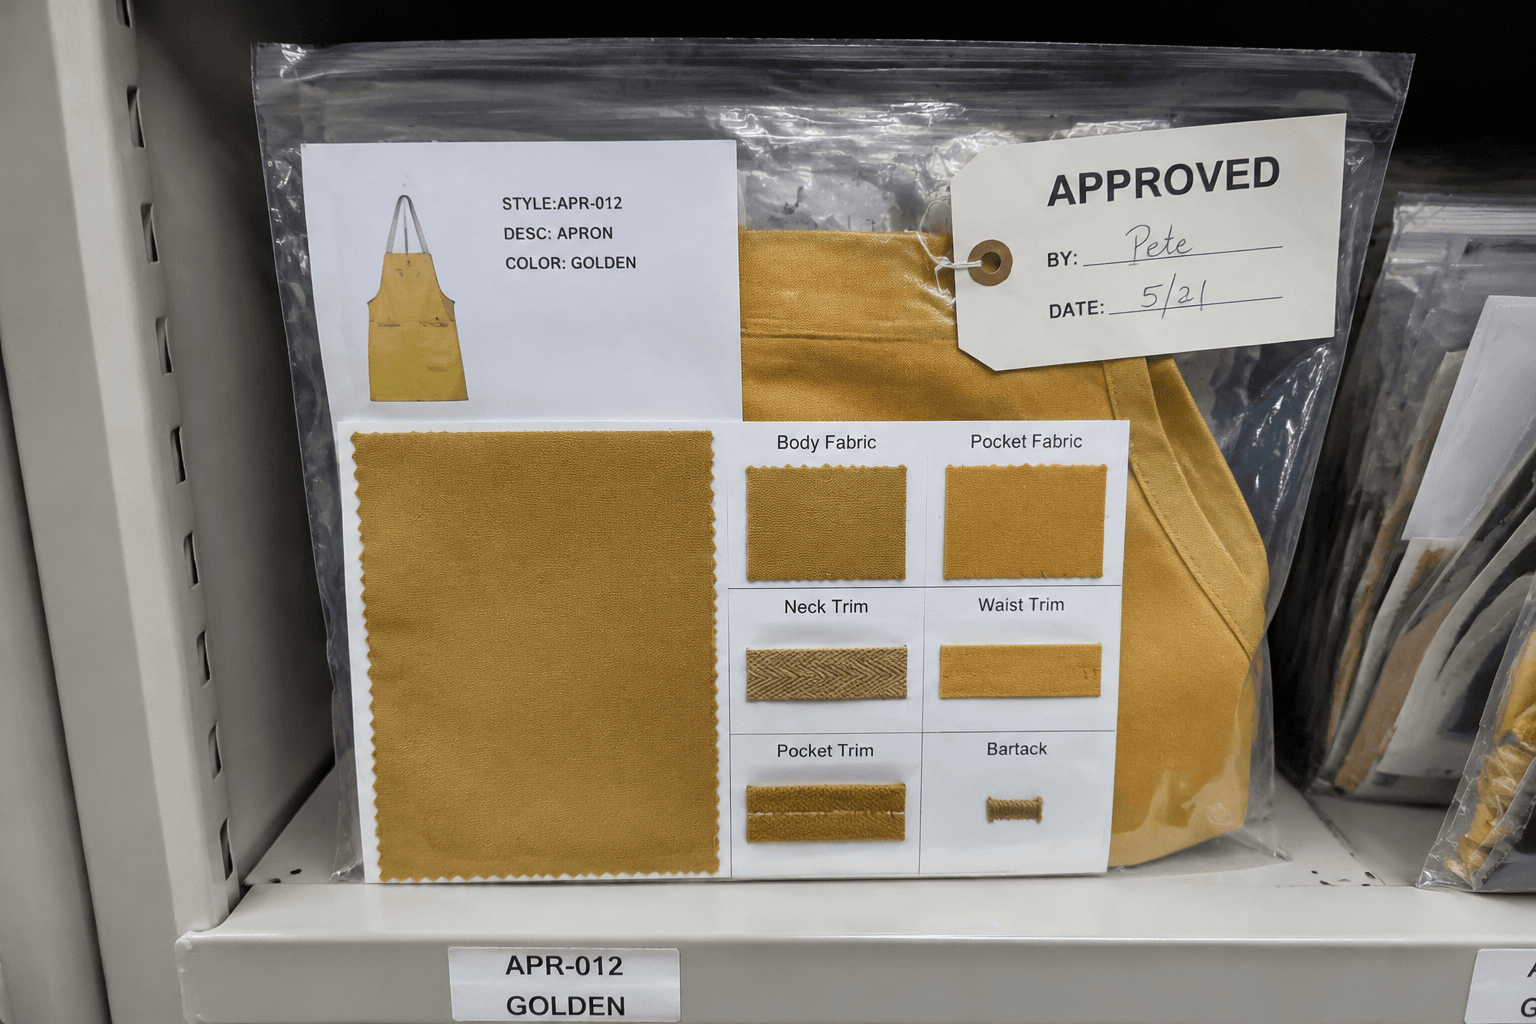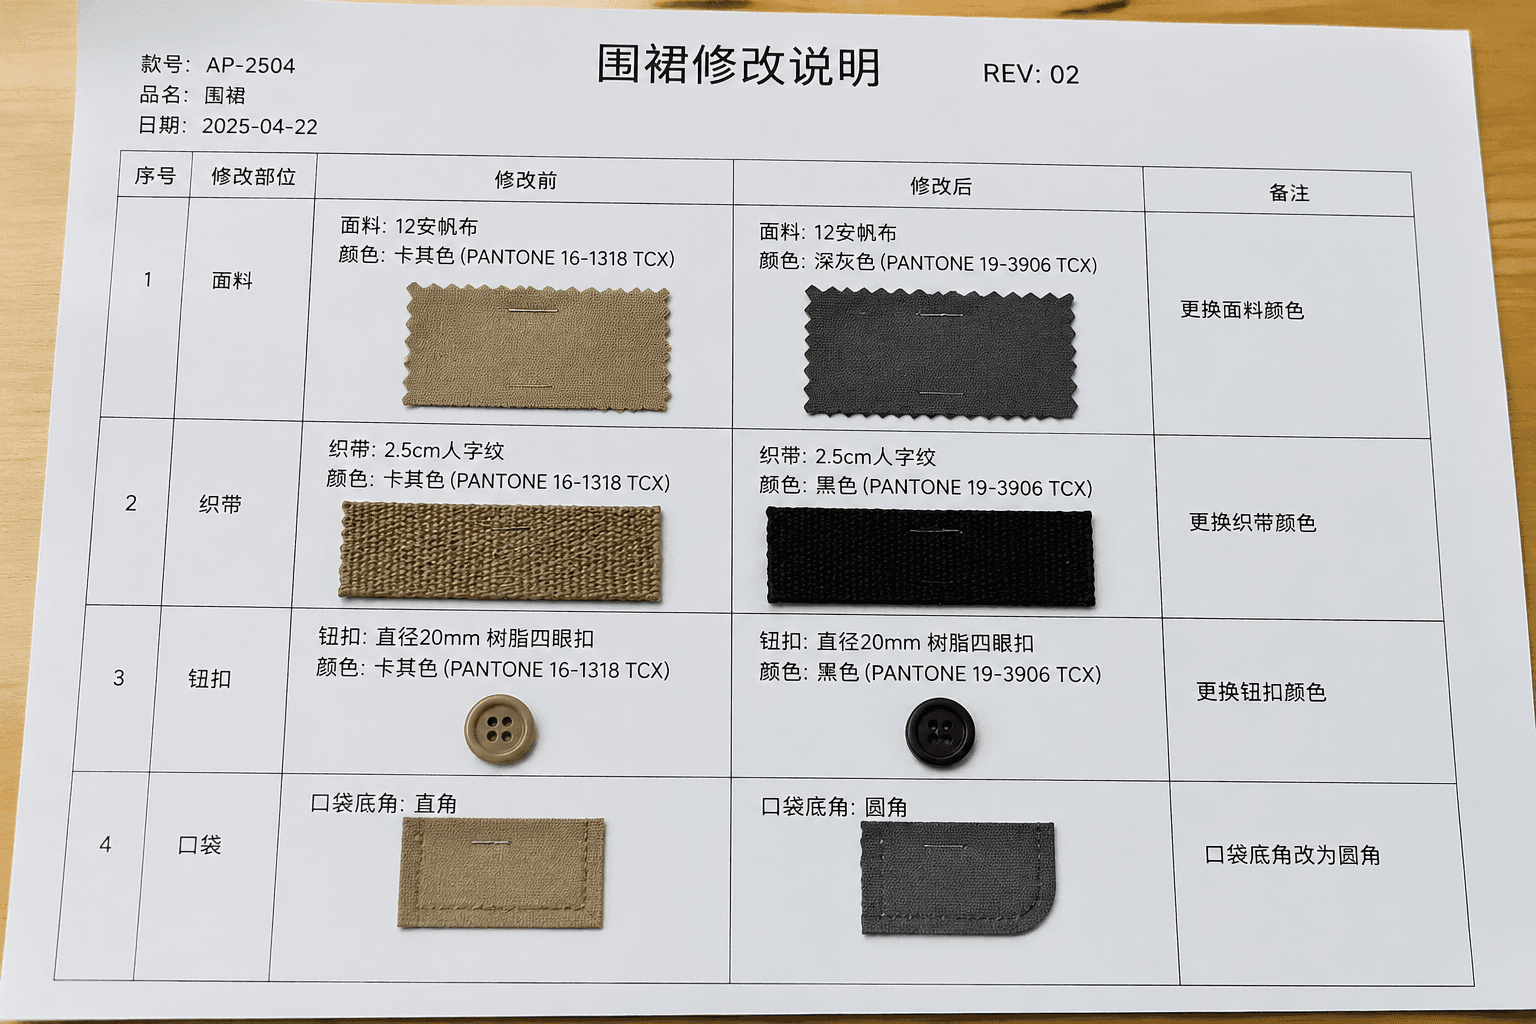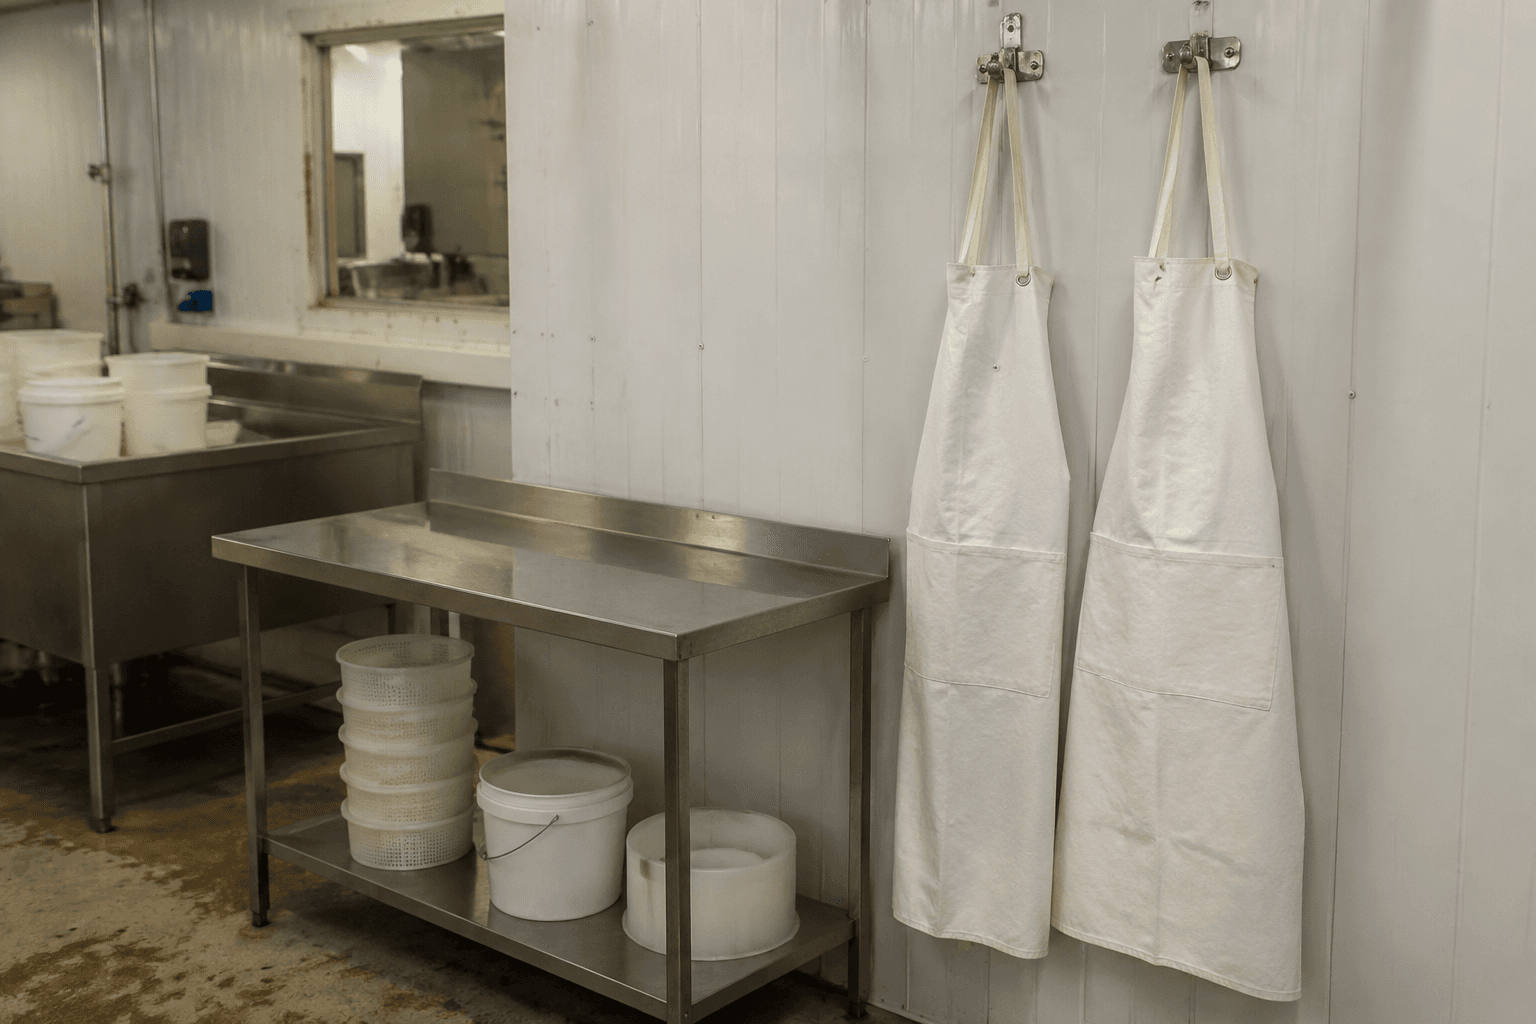
Final random inspection is the most expensive point to discover structural apron defects. If the cutting room releases bib panels short by 0.8 cm, or a sewing line places chest pockets 1.0 cm below spec across 12 bundles, the issue is no longer simple quality verification. It becomes recutting, rework, replacement fabric, overtime, and often a shipment delay of 2 to 5 days. That is why inline inspection for apron production is a control method, not paperwork. It matters on a 500-piece restaurant reorder and on an 8,000-piece private-label apron program with multiple colors, logos, and pack ratios.
For B2B apron buyers, in-line control is also a cost tool. On a standard woven apron order priced at $2.20 to $7.40 FOB, a cutting or sewing issue corrected at source may add only $0.02 to $0.07 per piece. The same issue found at finishing or packing can rise to $0.16 to $0.42 per piece once sorting, reopening cartons, repair labor, repressing, recounting, and repacking are added. On heavier styles in 10 oz to 12 oz canvas with rivets, D-rings, embroidery, or contrast webbing, late correction can exceed $0.50 per piece.
A workable apron quality system should follow actual factory flow: cutting release, sewing start-up, in-line sewing patrol, finishing, and pack-out verification. Each checkpoint needs measurable tolerances, inspection frequency, and a clear stop rule when defects repeat. Buyers do not need promises about "strict QC." They need evidence that the factory uses inline inspection for apron production to control the failures that most often create claims on apron orders: shade variation, cut-part shortage, strap-length inconsistency, pocket misplacement, logo offset, wrong labels, mixed assortments, and incorrect carton marks.
- Use inline inspection for apron production to stop shade mix, panel mismatch, and cut-part count errors before sewing adds avoidable labor cost.
- Require first-piece approval before bulk sewing, then inspect every 50 to 100 pieces or every 60 to 90 minutes; tighten to every 30 to 50 pieces on new, washed, or hardware-heavy apron styles.
- Set intervention rules: 3 major defects in one bundle or an hourly defect rate above 3% should trigger containment, root-cause review, and process correction.
- At packing, verify fold method, barcode, ratio pack, carton dimensions, and carton gross weight before sealing; a well-sewn apron in the wrong carton is still a buyer claim.
- Ask suppliers for cutting logs, in-line defect records, measurement sheets, and corrective-action notes from recent apron POs, not only a final pass report.
Why inline inspection for apron production matters before final AQL on apron orders
Aprons are simpler than tailored garments, but bulk apron orders still carry concentrated quality risk because the same visible parts repeat piece after piece. One PO may combine 210 GSM poly-cotton twill waist aprons, 280 GSM cotton twill bib aprons, and 10 oz canvas utility styles with different pockets, logo methods, and strap sets. If a factory waits for final inspection, it may discover that a full sewing line installed waist ties 2.0 cm shorter than spec or that 14 cartons contain mixed navy and black labels. By then, fabric, labor, pressing, and packing cost are already committed.
The commercial effect is direct. On a 3,600-piece apron order, a repeated defect rate of 4% means 144 pieces to repair or replace. If the order ships by color, retailer ratio, or private-label SKU, those 144 pieces can hold the full shipment. Factories aiming only to pass final AQL 2.5 major / 4.0 minor often fail because weak in-line control allowed one repeated problem to spread through cutting, sewing, or packing.
A useful control system places checkpoints where apron defects begin. That means roll and marker checks before cutting release, first-piece approval before sewing ramps up, patrol inspections during bulk sewing, and live carton verification during pack-out. The goal is not equal inspection intensity on every unit. The goal is to stop one wrong machine setting, one wrong trim issue, or one counting error before it turns into a rework lot of 500 to 1,000 pieces.
- Use final inspection as a shipment gate, not as the first serious quality checkpoint.
- Apply tighter patrol frequency on orders of 500 to 1,200 pieces per color, where one recurring defect can damage a full SKU.
- Treat AQL 2.5 as end-stage confirmation; real cost control happens during production, not after it.
Cutting-stage inline inspection for apron production: fabric lot control, panel tolerance and bundle accuracy
The cutting room decides whether sewing receives stable inputs or hidden variation. For aprons, the main controls should cover fabric quality, shade segregation, width consistency, shrinkage, marker placement, ply tension, cut-part measurement, notch accuracy, and bundle count. Common apron fabrics such as 190 to 220 GSM poly-cotton, 240 to 300 GSM twill, and 8 oz to 12 oz canvas behave differently during spreading. Uneven tension can distort body panels and strap pieces enough to create visible finished-size differences after hemming and pressing.
Before spreading starts, fabric should pass a 4-point inspection with roll identification by lot and shade. A practical minimum is to inspect 10% of rolls on repeat approved fabric and 100% on new lots, dark shades, washed fabrics, or buyer-nominated critical styles. Shrinkage testing should be completed by lot before marker approval, especially on washed canvas, brushed twill, or enzyme-finished fabrics. Many buyers accept shrinkage within ±3%; above that, finished apron length, body width, and pocket position can all move outside tolerance.
Measurement control at cutting matters because apron symmetry is highly visible. The body, bib, pockets, waistband, neck strap, and towel loop are exposed at first glance. A body panel cut short by 0.6 cm may look minor on paper, but it can reduce hem depth, shift pocket placement, and move a logo too close to the edge. A neck strap cut long by 1.5 cm across one bundle creates mixed adjustability after hardware installation. These remain low-cost fixes only if they are contained before sewing starts.
Accessory release should sit inside the same checkpoint. The cutting room should not release bundles if webbing width, slider size, rivet finish, snap color, or bartack thread color does not match the approved BOM. A common apron failure is mixing 25 mm webbing with 30 mm sliders, or releasing antique-brass hardware against a matte-black approval. Once those trims reach sewing, the defect shifts from prevention to repair.
- Control body panel size at about ±0.5 cm for standard waist aprons and ±0.7 cm to ±1.0 cm for larger bib aprons, depending on style and fabric weight.
- Check pocket pairs for matching size and grain; a visible mismatch of 0.5 cm is obvious after topstitching.
- Segregate black, navy, charcoal, and olive by roll and lot to prevent mixed-shade packing.
- Verify cut-part quantity bundle by bundle before sewing release; shortages often appear later as carton short packs.
- Confirm strap and hardware compatibility exactly, such as 25 mm webbing with 25 mm hardware, not mixed sizes.
Sewing-line inline inspection for apron production: first-piece approval, patrol timing and line-stop triggers
Most buyer-visible apron defects are created on the sewing floor. Typical repeats include twisted waist ties, uneven hems, skipped stitches at thick seam joins, weak bartacks at stress points, pockets attached off-center, open seam ends inside multi-pocket compartments, and care labels inserted into the wrong seam. None of these defects is rare. The real failure is letting one setup problem continue for 200, 400, or 800 pieces without intervention.
The first control point is first-piece approval. Before bulk output starts, quality, production, and the line supervisor should approve one complete apron against the sealed sample, spec sheet, BOM, and packaging notes. For aprons, first-piece approval should confirm finished body dimensions, pocket location, stitch density, thread color, strap assembly, hardware direction, bartack reinforcement, label placement, pressing appearance, and logo position. If even one point is left open at start-up, later in-line inspection becomes slower and more subjective.
After start-up, patrol frequency should match style complexity. For a repeat waist apron in 200 to 220 GSM poly-cotton with one patch pocket and no hardware, inspection every 100 pieces or every 90 minutes may be adequate after the line stabilizes. For a new bib apron in 10 oz denim, 340 GSM canvas, or a style with embroidery and adjustable metal hardware, a better plan is every 30 to 50 pieces during the first half day, then every 60 pieces if defect levels drop. The first two hours after line start-up, operator changes, and meal breaks deserve extra attention because error rates usually rise there.
Fabric weight changes the likely defect type. On a lightweight half apron, the main risks are alignment, seam straightness, and pocket width. On a heavy canvas bib apron, the larger risks are feed inconsistency, seam bulk, thread tension imbalance, needle heating, reinforcement failure, and hardware orientation. Branding adds another control point. A logo embroidered 0.8 cm off center may have clean stitch quality but still fail commercial acceptance because the apron no longer matches the approved retail or uniform presentation.
Inspection only works when it has triggers. A practical rule for apron lines is to isolate the bundle if the inspector finds 3 major defects in one bundle or if hourly defects exceed 3%. Corrective action may require a machine reset, folder change, needle replacement, tension adjustment, operator retraining, or a check back to cutting if parts are off spec. Without line-stop authority, defect recording becomes administration rather than control.
- Approve a complete first piece before bulk sewing, including dimensions, strap function, logo position, labels, and pressing appearance.
- Increase patrol frequency at start-up, after breaks, and after operator replacement; these are common repeat-defect periods.
- Recheck bartacks, box stitches, and hardware attachment on every heavy-duty bib apron style rather than relying on random end checks.
- Record defects by operation and operator so corrections target the root cause instead of slowing the full line.
Measurement, function and branding checks that prevent apron claims
Many apron claims are not classic workmanship failures. They come from aprons that do not perform as specified for the end user. Neck straps may not extend far enough for adult hospitality staff. Waist ties may vary enough that some units cannot tie comfortably around the back. Pocket openings may be too narrow for an order pad, thermometer, tablet stylus, or small POS device. For that reason, apron measurement control should be built around function as well as appearance.
For adult bib aprons, the key measurements usually include body width, finished body length, neck strap usable range, total waist tie length, pocket height, pocket width, pocket depth, and pocket placement from center front or side seam. A practical tolerance table for many woven apron programs is ±1.0 cm on body length, ±1.0 cm on body width, ±1.5 cm on total tie length, and ±0.5 cm on visible pocket placement. Waist aprons with simpler construction may hold tighter dimensions, while washed canvas styles may need slightly wider tolerances if approved before bulk starts. What matters is that the tolerance table is style-specific, not copied from a generic garment form.
Branding details need separate in-line control because they are harder to repair once applied. Embroidery should be measured from a fixed reference point, such as top bib edge or center front, not judged visually by different inspectors. Screen print position should be checked before mass application on cut panels. Woven brand labels, care labels, barcode stickers, and swing tags should each have a defined placement and orientation standard. On private-label apron orders, logo and trim errors often create more commercial damage than moderate sewing defects because the product may remain usable but unsaleable under the buyer's brand.
This is also where buyer priorities need to be explicit. If the order is for hospitality uniforms, strap adjustability and wash durability may be the main control points. If the order is for retail private label, embroidery position, fold standard, and barcode accuracy may matter more. The factory should translate those priorities into the inline inspection for apron production plan before bulk starts, not after a claim appears.
- Define measurements by style; a bakery waist apron, salon apron, and bartender bib apron should not share one generic tolerance sheet.
- Use fixed reference points for pockets and logos so every inspector measures placement the same way.
- Separate functional defects such as short usable strap length from workmanship defects such as loose thread ends; they require different corrective actions.
Packing-stage inline inspection for apron production: SKU accuracy, fold standard and carton compliance
Packing is the last stage where a factory can stop a shipment claim without reopening goods after receipt. On apron orders, pack-out control is more than folding and counting. It must confirm that the correct style, color, logo version, label set, barcode, and carton ratio all match the PO. A well-sewn apron packed under the wrong SKU, with the wrong barcode sticker, or in the wrong ratio is still a full commercial defect for a distributor, retailer, or uniform program.
A practical pack-out checkpoint should verify garment identity, fold method, polybag size and thickness, suffocation warning text where required, care label presence, hangtag, barcode scan result, assortment ratio, carton mark, carton dimensions, net weight, and gross weight. For example, if the approved export carton is 60 x 40 x 30 cm but the factory substitutes 65 x 45 x 35 cm to fit overpacked canvas aprons, the buyer may face pallet inefficiency, warehouse non-compliance, or increased dimensional freight cost. On heavier apron styles, many customers require carton gross weight to stay below 15 kg to 18 kg for manual handling.
Mix-ups are common at this stage because apron SKUs often look similar. A black bib apron with white logo embroidery can be confused with a black bib apron using tonal embroidery, or two navy styles can differ only by care label language and carton mark. Packing risk also rises when fabric weight changes. If a style moves from 8 oz canvas to 10 oz canvas or adds metal hardware, the approved quantity per carton often needs to drop to avoid deep fold marks, crushed presentation, or overweight cartons. These problems are simpler to prevent with live pack-out verification than to fix after palletization.
- Confirm approved fold and presentation standard before full packing starts, not after the first pallet is sealed.
- Scan barcode labels during pack-out to catch wrong sticker application immediately.
- Check ratio packs carton by carton on mixed-size or mixed-color orders; one wrong carton can trigger retailer rejection.
- Reduce quantity per carton when heavier fabric, hardware, or added inserts increase packed bulk.
What MOQs, lead times and defect data tell B2B apron buyers about supplier control
Buyers often ask what numbers indicate a controlled apron factory. There is no universal benchmark, but there are realistic working ranges. On a repeat restaurant bib apron in 240 GSM poly-cotton with one pocket and no hardware, a stable line should usually settle below 2.5% in-line defects after start-up correction. On a new canvas apron with contrast thread, adjustable hardware, and embroidery, day-one in-line findings of 4% to 6% are not unusual. The important point is whether the rate drops by the next shift after corrective action, or whether the same defect continues into bulk.
These defect rates affect delivery directly. A standard custom apron order of 2,000 to 5,000 pieces normally needs about 20 to 35 days after PP sample approval if fabric and trims are ready. A heavier washed-canvas or hardware-rich apron often needs 30 to 45 days. If cutting errors force recuts or sewing defects create repair lots, the factory can lose 2 to 5 production days without any change in buyer demand. For customers shipping to booked vessel dates, restaurant openings, or retail floor-set deadlines, those lost days cost more than a small FOB saving.
MOQ also changes risk concentration. Many apron suppliers quote 300 to 500 pieces per color for standard twill styles and 800 to 1,000 pieces per color for custom-dyed, printed, washed, or hardware-heavy aprons. On low-MOQ orders, one repeated defect can damage a large share of the SKU quickly. On higher-volume orders, poor in-line control can spread the same fault across multiple cartons and booking lots. In both cases, the buyer needs proof that the supplier can contain repetition early.
Cost impact is equally clear. Controlled in-line correction on a simple apron may add only $0.03 to $0.08 per piece. The same issue found at packing can add $0.15 to $0.40 per piece, and complex private-label repairs can exceed $0.50 per piece. Buyers should therefore ask specific questions: who signs first-piece approval, how often patrols are done, what defect threshold stops the line, what AQL standard is used at final, and whether the supplier can share actual in-line records from recent apron orders. A supplier that answers with measurement logs, defect percentages, and corrective-action timing usually has stronger control than one that only says its QC is strict.
- Use 2.5% or lower as a practical in-line target for stable repeat apron styles after start-up.
- Expect higher first-day defects on new constructions, but require a clear drop after corrective action within the next shift or production day.
- Plan lead time by apron type: about 20 to 35 days for standard repeat styles and 30 to 45 days for washed, embroidered, or hardware-heavy programs.
- Ask for real evidence: first-piece approvals, patrol logs, defect summaries, measurement records, and line-stop actions from recent apron POs.