For professional beverage programs, cocktail bar aprons with towel loop are a working tool, not a styling extra. The apron has to support repeated hand drying, shaker wipe-down, stemware polishing and station reset through a 3 to 5 hour peak window, often across a total shift of 8 to 10 hours. When loop placement, towel size and fabric weight stay vague, the same failures repeat: the towel hits the thigh, blocks the pocket mouth, prints a dark moisture patch on the front panel or tears the loop after wet use.
That makes towel management a tech-pack issue, not a trim choice left to final sampling. A loop that looks acceptable on a showroom sample can still fail in service if the clear opening is too tight for a damp tri-fold towel, if the attachment point sits outside the natural hand path, or if the apron body twists after 20 to 30 machine washes. For B2B buyers, the loop spec should be fixed at the same stage as shell fabric, pocket layout, strap construction, logo position, wash standard and inspection criteria.
This guide stays strictly on sourcing decisions that improve towel performance in cocktail bar aprons with towel loop: placement, towel weight, loop construction, wear-trial benchmarks, QC checkpoints, MOQ and OEM timing. The objective is straightforward: approve an apron that resets fast, stays presentable during service and does not create avoidable resampling cost or rollout delay.
- Approve the service towel before approving the loop; a practical default is 25 x 40 cm or 30 x 30 cm terry at 380 to 420 GSM.
- Place the loop on the dominant-hand side and time the motion; target under 2.0 seconds for dry grab-wipe-rehang and under 3.0 seconds for damp use.
- Use production-grade construction; a 2.5 to 4.0 cm finished loop with bartack or box-X reinforcement is more reliable than a narrow decorative tab.
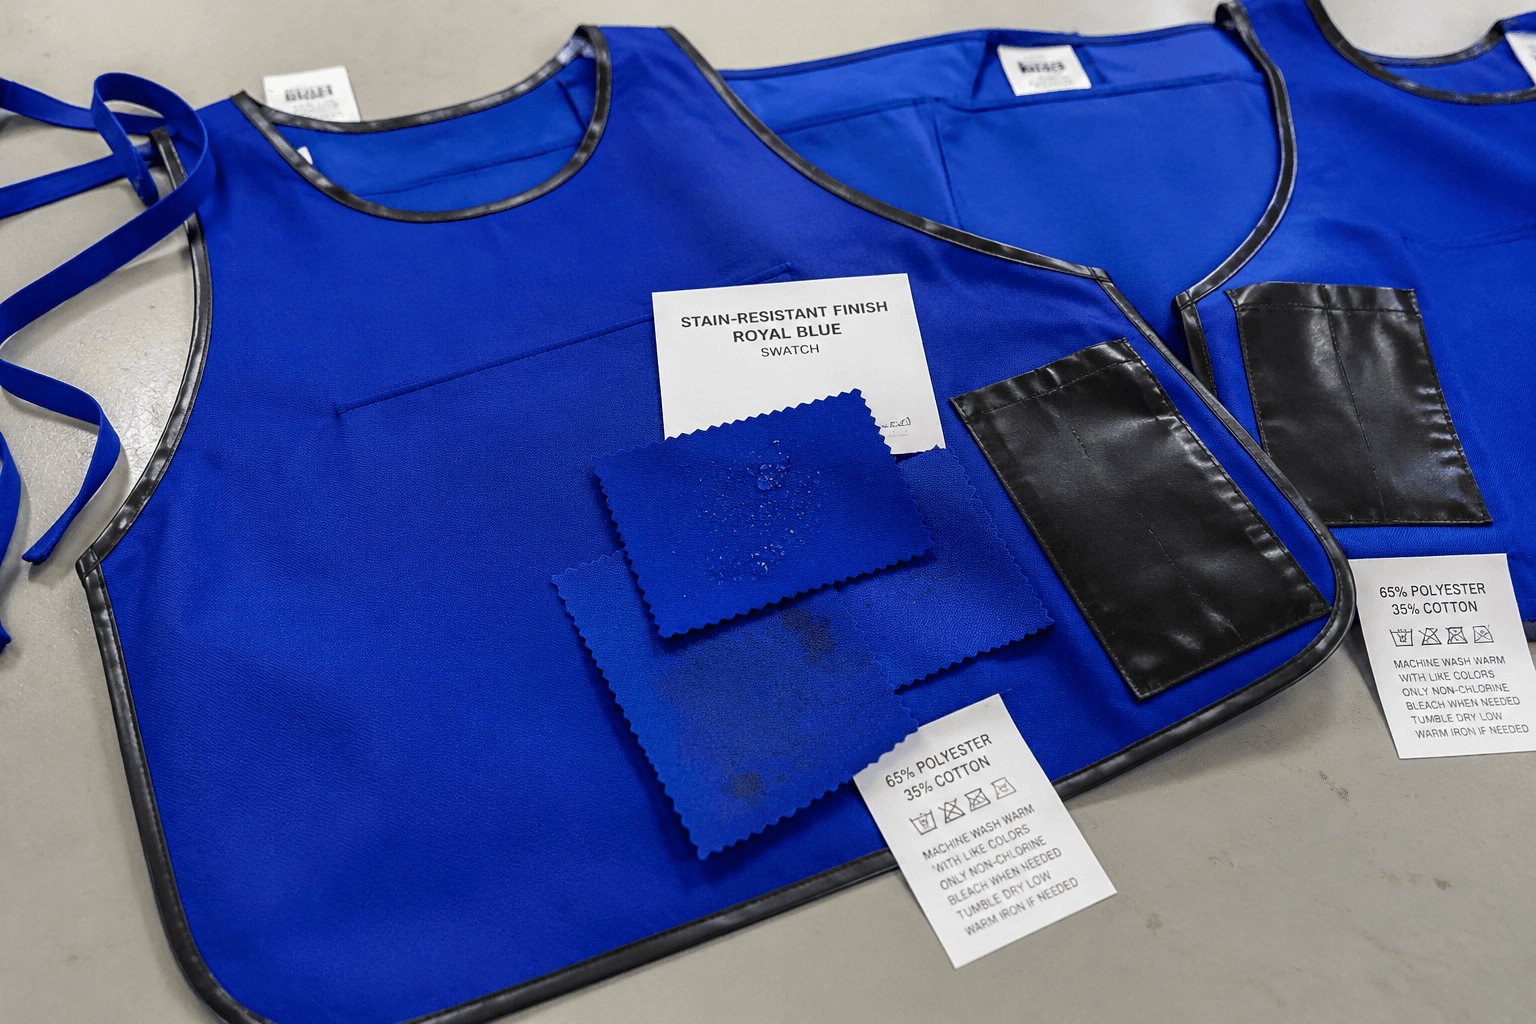
- Control wet-transfer at material stage; shell fabric, shell color, pocket bag weight and towel saturation all affect visible moisture mapping.
- Freeze the feature at PP stage; write loop width, drop, position, fold method and tolerance into the approved sample record.
- Protect lead time early; unresolved towel-loop details commonly add 5 to 10 days through preventable sample revisions.
Craft cocktail bar aprons with towel management: specify workflow before styling
The most reliable apron programs start with bar workflow, not with silhouette. In service, the towel supports short, repeated actions: drying fingertips, catching shaker condensation, wiping bottle necks, polishing stemware and clearing a station edge before the next ticket. If the apron does not support those motions, staff improvise by tucking the towel into the waist ties, stuffing it into a pocket or carrying it in hand. For a multi-site buyer, that is a functional specification failure, not a wearer preference.
A practical development brief should answer five operating questions before the first proto is cut: which hand retrieves the towel, how narrow the service well is, whether one towel or two are used during peak, how often towels are swapped in a 6 to 8 hour shift, and whether bartenders carry tools on the same side. In most cocktail-led concepts, the correct performance target is one-handed retrieval and one-handed rehang without looking down. If staff need to visually align the towel or use two hands, the design adds friction hundreds of times per night.
A common OEM mistake is approving the apron body first and adding the towel loop later as a decorative side detail. That usually creates conflict with the side seam, slit opening, pocket mouth or waist tie path. For professional cocktail bar aprons with towel loop, the loop should be patterned, reinforced and wear-tested from the first prototype, alongside the exact shell fabric and approved towel.
- Set a wear-trial benchmark of <2.0 seconds for dry grab-wipe-rehang and <3.0 seconds for damp use.
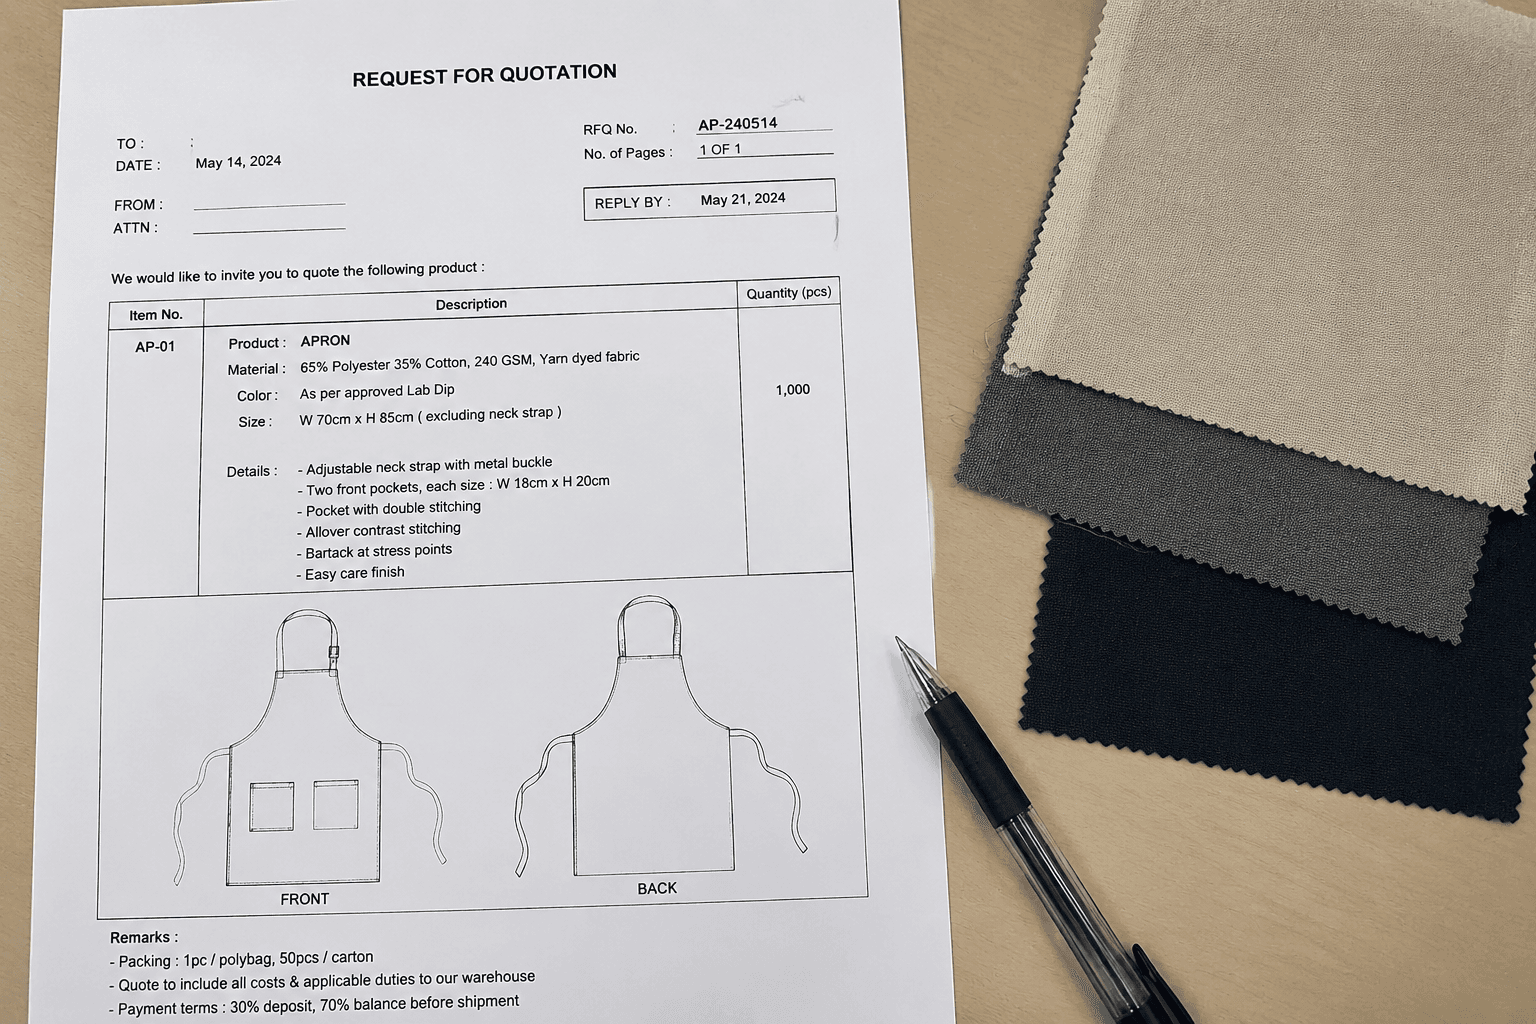
- Use shell fabrics that keep shape under wet handling: 220 to 280 GSM poly-cotton twill, 260 to 320 GSM cotton canvas, or 9 to 11 oz cotton-rich denim.
- Plan standard OEM MOQ at 300 to 500 pcs per color for stable apron constructions using one loop specification across sizes.
- Request the towel loop in proto round one; pushing it to sample round two often adds 5 to 7 days before fit comments can start.
Cocktail bar aprons with towel loop: where loop placement actually works
Loop placement should follow the bartender’s natural hand path, not a generic fashion template. In factory development, the three workable positions are side seam, front hip and waistband attachment. Each option changes rehang angle, towel swing, front visibility and snag risk around pockets or tools, so the right choice depends on service pattern rather than appearance alone.
For full bib aprons used in hotel bars, premium casual groups and lounge programs, a side-seam loop slightly above the upper hip is usually the safest starting point. It keeps the towel away from center-front branding, reduces interference while walking and gives a predictable rehang path. Problems begin when the loop sits too low or is paired with an oversized towel; then the towel hits the thigh, slows turns in a tight well and creates a visible swing line across the leg.
A front-hip loop can shorten reach distance and improve reset speed on shorter bib aprons or waist aprons used in compact stations. The trade-off is greater front visibility, more risk of covering a pocket opening and a larger wet-transfer zone on light shell fabrics. A waistband-mounted loop can carry more load, but it also shifts as the apron loosens through the shift, so placement becomes less consistent from wearer to wearer. Buyers should make the final decision from live trials with the real towel, not from a static fitting-room review.
- For right-dominant teams, start with the loop on the right side; for left-dominant teams, mirror the sample and compare timed results.
- For side placement, set loop center about 0 to 3 cm behind the true side seam; for front-hip placement, test about 8 to 12 cm forward of the side seam.
- If bib apron body length exceeds 80 cm, raise the loop enough to reduce towel contact during bending, stair movement and quick turns.
- Keep the loop at least 3 cm above any side slit start and 6 cm away from the nearest pocket opening.
Absorbency, towel weight and wet-transfer control in bar apron sourcing
Absorbency is not only a towel issue. In production terms, it is the combined result of towel fabric, shell fabric, pocket bag quality and the length of time damp terry rests against the apron front. A towel that feels soft and premium at sample stage may still be a poor choice if it stays saturated after repeated wipe-downs, darkens the apron front and becomes heavy enough to drag the loop out of shape during service.
For most cocktail programs, the balanced towel specification is 380 to 420 GSM terry in either 25 x 40 cm or 30 x 30 cm. That range usually gives enough absorbency for condensation, quick station wiping and glass polishing without becoming too bulky when damp. Towels above 500 GSM often present as more luxurious in hand, but in daily use they rethread more slowly, sag on soft loops and increase stress on the attachment point after repeated wet handling. Towels below 340 GSM dry faster but often lose wiping capacity too early in a rush window.
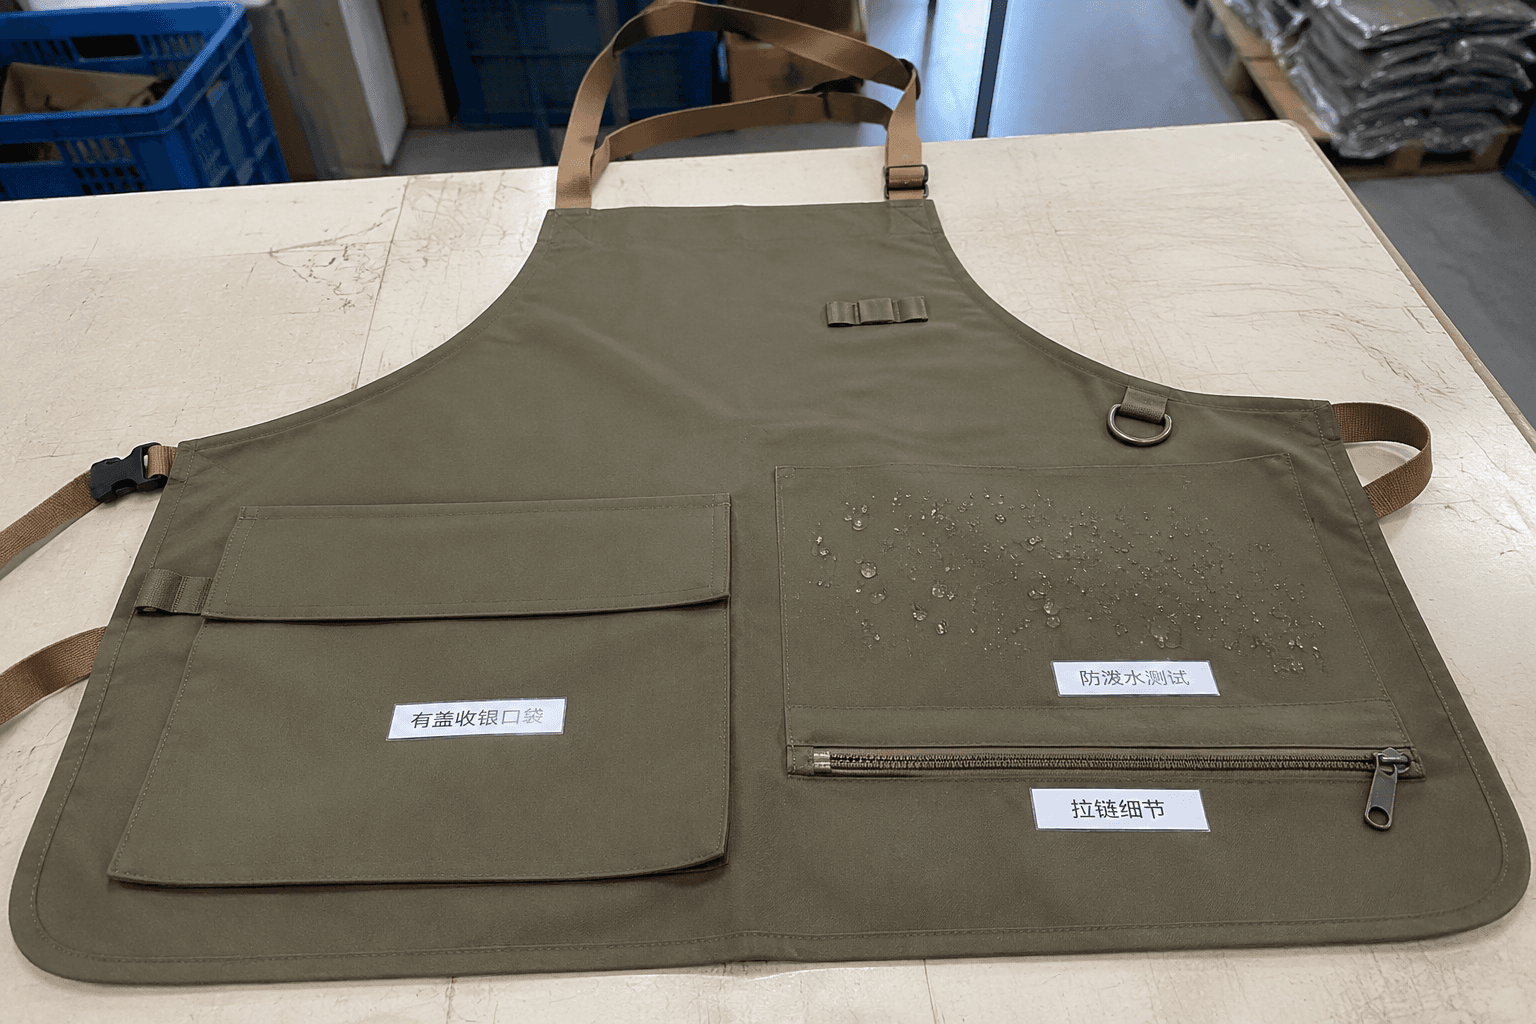
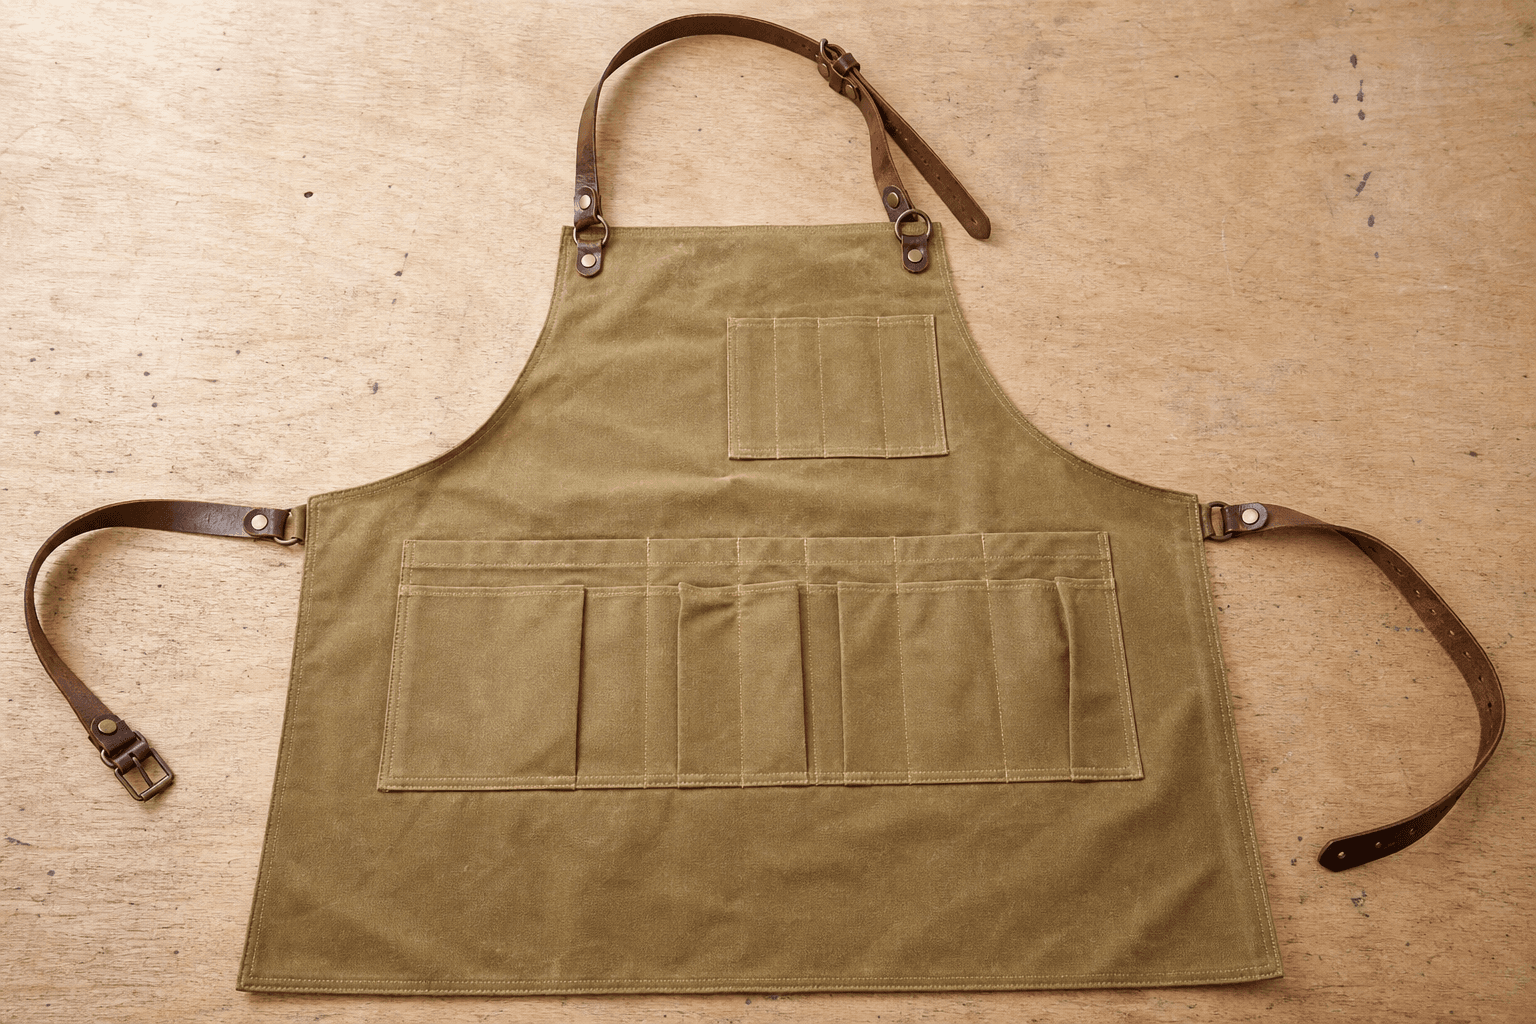
Apron shell choice should be made with the towel already approved. Cotton canvas at 280 to 300 GSM gives a natural hand and structured premium look, but it shows wet patches quickly and may feel heavier after repeated laundering. Poly-cotton twill at 220 to 280 GSM usually dries faster, presents more evenly across chain programs and holds shape better through industrial wash cycles. Denim at 9 to 11 oz works for some bar concepts, but only if the loop zone remains soft enough for easy rehang. If the concept wants waxed or coated accents, keep them outside the towel path; stiffness near the hip slows the reset motion and reduces comfort.
- Use darker shell colors such as black, charcoal, deep olive or indigo when wet-transfer visibility matters.
- Specify pocket bags at 120 to 160 GSM poly-cotton instead of light sheeting when the towel rests near the pocket opening.
- Keep leather trim out of the towel area; repeated damp contact can harden edges, bleed color and mark terry after wash.
- If expected damp towel weight exceeds 120 g, upgrade loop reinforcement and review side balance on the apron pattern.
Construction standards: loop width, reinforcement and AQL checkpoints
Most towel-loop failures come from small construction errors, not from the concept itself. Typical causes are a finished opening that is too narrow for the approved folded towel, weak reinforcement at the attachment point, or a self-fabric loop that collapses after laundering. Once staff begin forcing a damp towel through a tight opening, the loop twists, the stitch line distorts and failure accelerates quickly across units.
For professional bar programs, a finished loop width of 2.5 to 4.0 cm is the dependable range. It accepts a folded towel quickly while limiting excess swing during movement. Self-fabric loops can work on stable canvas or denim, yet on softer twills they often lose shape after wash. Cotton herringbone tape or poly-cotton webbing usually offers better shape retention and faster blind rehang. Where the visual brief requires self-fabric, internal tape reinforcement is often worth the extra $0.05 to $0.12/pc because it reduces replacement risk in bulk.
Testing should reflect wet service conditions rather than relying on a simple tensile check. A loop may pass an 8 kg pull test and still fail after repeated damp abrasion, twisting and compression. The stronger method is repetitive hang-remove-rehang testing with the approved towel in its actual fold, followed by wash checks for shrinkage, edge roll and seam distortion. For buyers rolling out across dozens of sites, that discipline before PP approval is far cheaper than replacing units after launch.
- Use 28 to 42 stitch bartacks or a box-X seam instead of a simple topstitch join.
- Set an internal durability benchmark of 500 to 1,000 grab-and-rehang cycles with the approved towel.
- Use practical loop materials such as 2.5 cm self-fabric, 3.0 cm cotton herringbone tape or 2.5 to 3.8 cm poly-cotton webbing.
- Inspect at AQL 2.5 major and AQL 4.0 minor, with loop placement tolerance, bartack completeness and seam security on the checkpoint sheet.
Reset speed depends on the full access zone around the apron loop
Fast towel reset does not come from the loop alone. It comes from a stable access zone around the loop: clear pocket spacing, balanced body weight, secure ties and no hardware that interrupts the hand path. Even a well-made loop performs poorly if a bulky patch pocket sits under it, if the waist ties are too short to stabilize the apron body, or if metal trim above the loop creates drag and movement every time the towel is returned.
Pocket layout is one of the most common sources of friction. When the towel path overlaps the nearest pocket mouth, staff either snag the towel on the corner or compress the pocket opening so tools become harder to retrieve. In many cases, moving tool storage to the opposite side, narrowing the pocket opening or increasing clearance between loop and pocket improves performance more than relocating the loop by a few millimeters.
Some operators request dual towel setups, with one active towel on the loop and a second polishing cloth elsewhere on the apron. That can work in tightly controlled fine-dining service, but most buyers get a cleaner, more scalable result from one primary towel loop plus clear station-level replacement rules. Extra hanging points add bulk, increase wet transfer and make the uniform look less controlled across a chain rollout.
- Maintain 6 to 8 cm clearance between the loop edge and the nearest pocket opening.
- Specify waist ties at about 90 to 110 cm per side for secure wrapping during active service.
- Use cross-back support for aprons above 280 GSM worn longer than 6 hours; it is usually more stable than a halter neck.
- Avoid large metal rings or decorative hardware above the towel zone; chemicals and condensation accelerate finish wear.
MOQ, FOB cost and lead-time planning for custom cocktail bar aprons with towel loop
From an OEM costing perspective, adding a towel loop is usually inexpensive; leaving the specification open is what becomes expensive. A basic self-fabric loop on a standard bib apron typically adds about $0.12 to $0.35/pc FOB, depending on shell weight, sewing minutes and order size. A contrast webbing loop with extra bartacks, custom trim color or branded hardware usually adds $0.35 to $0.90/pc. The bigger risk is not trim cost but schedule loss when towel size, fold method or placement side remain undefined through proto review.
The usual delay pattern is predictable. The buyer requests a towel loop but does not confirm the service towel, dominant-hand side or fold method during sample stage. The first sample arrives, the towel hangs too low, covers the logo or rethreads poorly when damp. One revision round adds 5 to 10 days, and if custom webbing, woven labels or plated hardware must be reordered, the bulk calendar can stretch again by another 7 to 12 days. For openings, refits and multi-unit rollouts, early technical clarity protects delivery better than shaving a few cents off trim.
For repeat constructions sourced through China OEM factories, a practical timeline is 3 to 5 days for lab dips or stock fabric confirmation, 7 to 10 days for prototype, 5 to 7 days for one revision sample and 25 to 40 days for bulk after PP approval and deposit. Quantities above 3,000 pcs, fresh dyeing, garment wash effects or imported hardware can extend production by 7 to 15 days. If towels are packed together with aprons, towel sourcing should run in parallel so carton count, labeling and packing method are fixed before bulk booking.
- Indicative FOB is often $3.80 to $6.50/pc for basic poly-cotton bib aprons and $6.50 to $11.50/pc for heavier canvas or denim with upgraded trims.
- The loop itself rarely changes garment MOQ, but custom webbing colors, woven labels or branded hardware may require 500 to 1,000 pcs trim minimums.
- Approve the PP sample with the actual service towel, not a substitute terry swatch.
- If aprons and towels ship as one set, lock packing ratio, carton quantity and moisture-sensitive finishing details before final production release.
PP approval checklist for bulk-ready bartender apron production
The strongest buyers convert wear-trial feedback into measurable sample comments. Instead of writing 'move the loop slightly up,' they record wearer height, apron size, towel dimensions, fold method and the exact motion where interference appears. That allows the pattern team to correct placement accurately and reduces the risk of overcorrection on the next sample. For apron programs, approval is more reliable when it comes from a rush simulation with at least 2 to 3 wearers, not from a static showroom fit.
An effective PP test uses both dry and damp towels folded exactly as they will be used in service. The wearer should wipe a shaker, polish a glass, bend under the bar, turn quickly and rehang the towel by touch only. Buyers should record whether the towel blocks a pocket, whether the loop twists, whether the apron front shows moisture mapping and whether the towel strikes the thigh while walking. This turns a visual sample review into a production-grade decision for cocktail bar aprons with towel loop.
Before bulk starts, every related point should be frozen in the tech pack and PP comments: loop width, loop drop, attachment coordinates, bartack method, distance to slit or pocket, towel specification and tolerance by size. Without those references, loop drift appears easily between sizes or sewing lines on mixed-SKU orders. With them, inline inspection is faster, rework is lower and consistency across bulk is usually much stronger.
- Test at least 2 body sizes, ideally one wearer below 165 cm and one above 180 cm.
- Measure loop location from fixed references such as waist seam, side seam and hem, with a tolerance of about ±0.5 cm.
- Approve the towel in its real service fold, such as half-fold, tri-fold or corner tuck, not as a flat display hang.
- Run at least 3 wash cycles before sign-off to check shrinkage, loop twist, seam torque and staining in the towel zone.