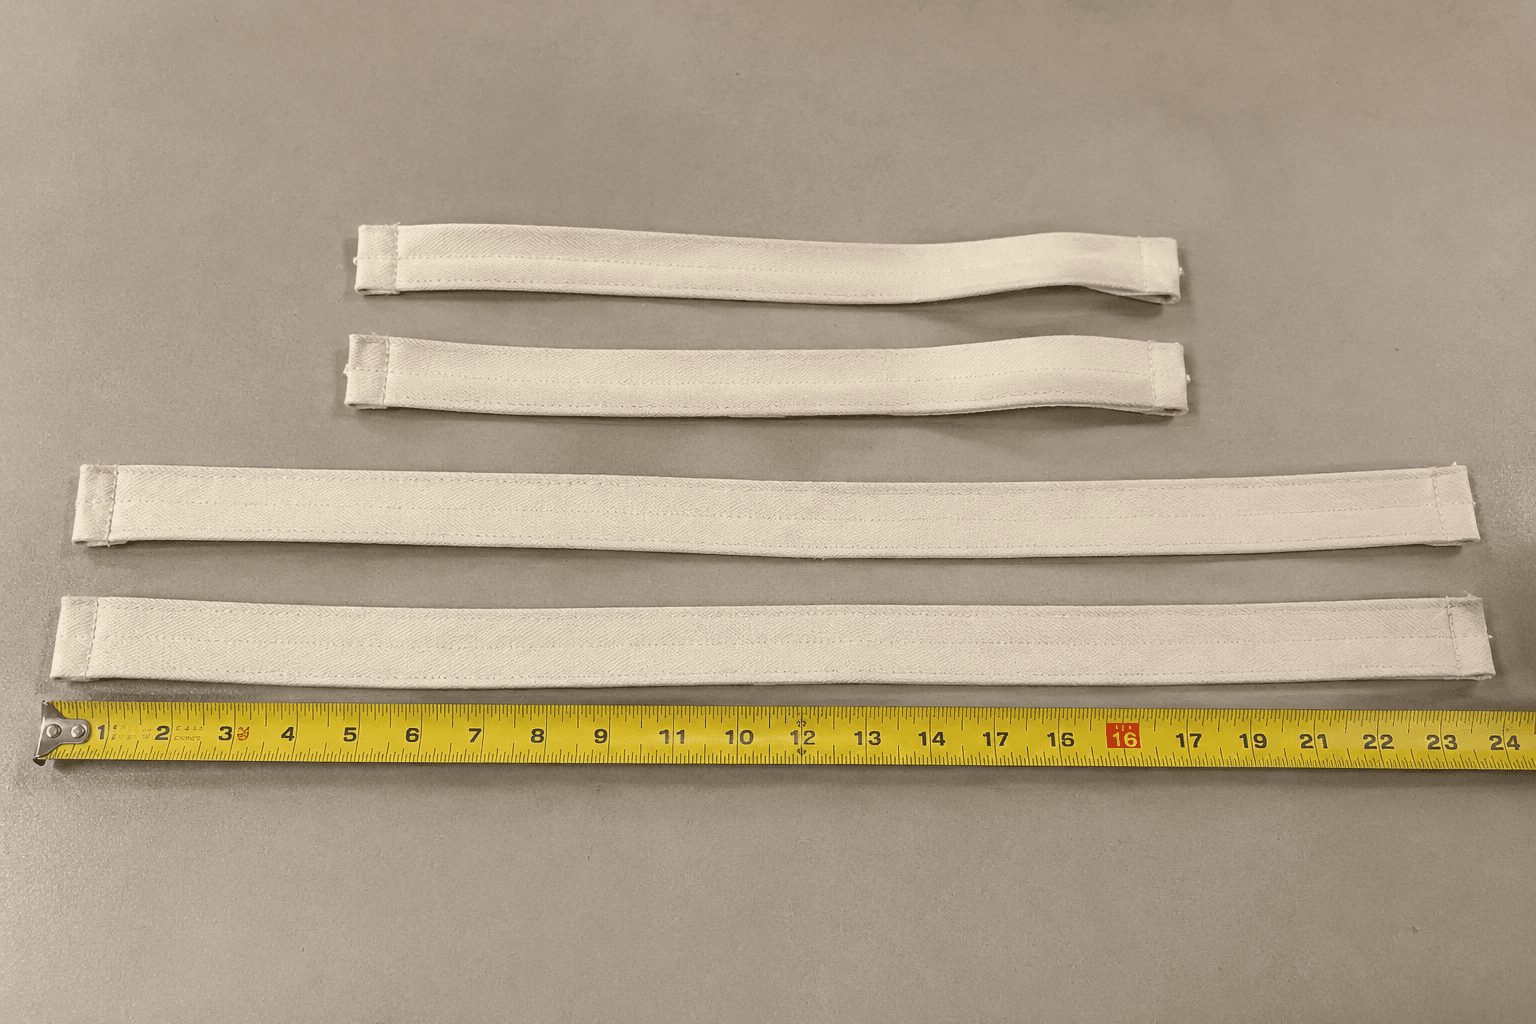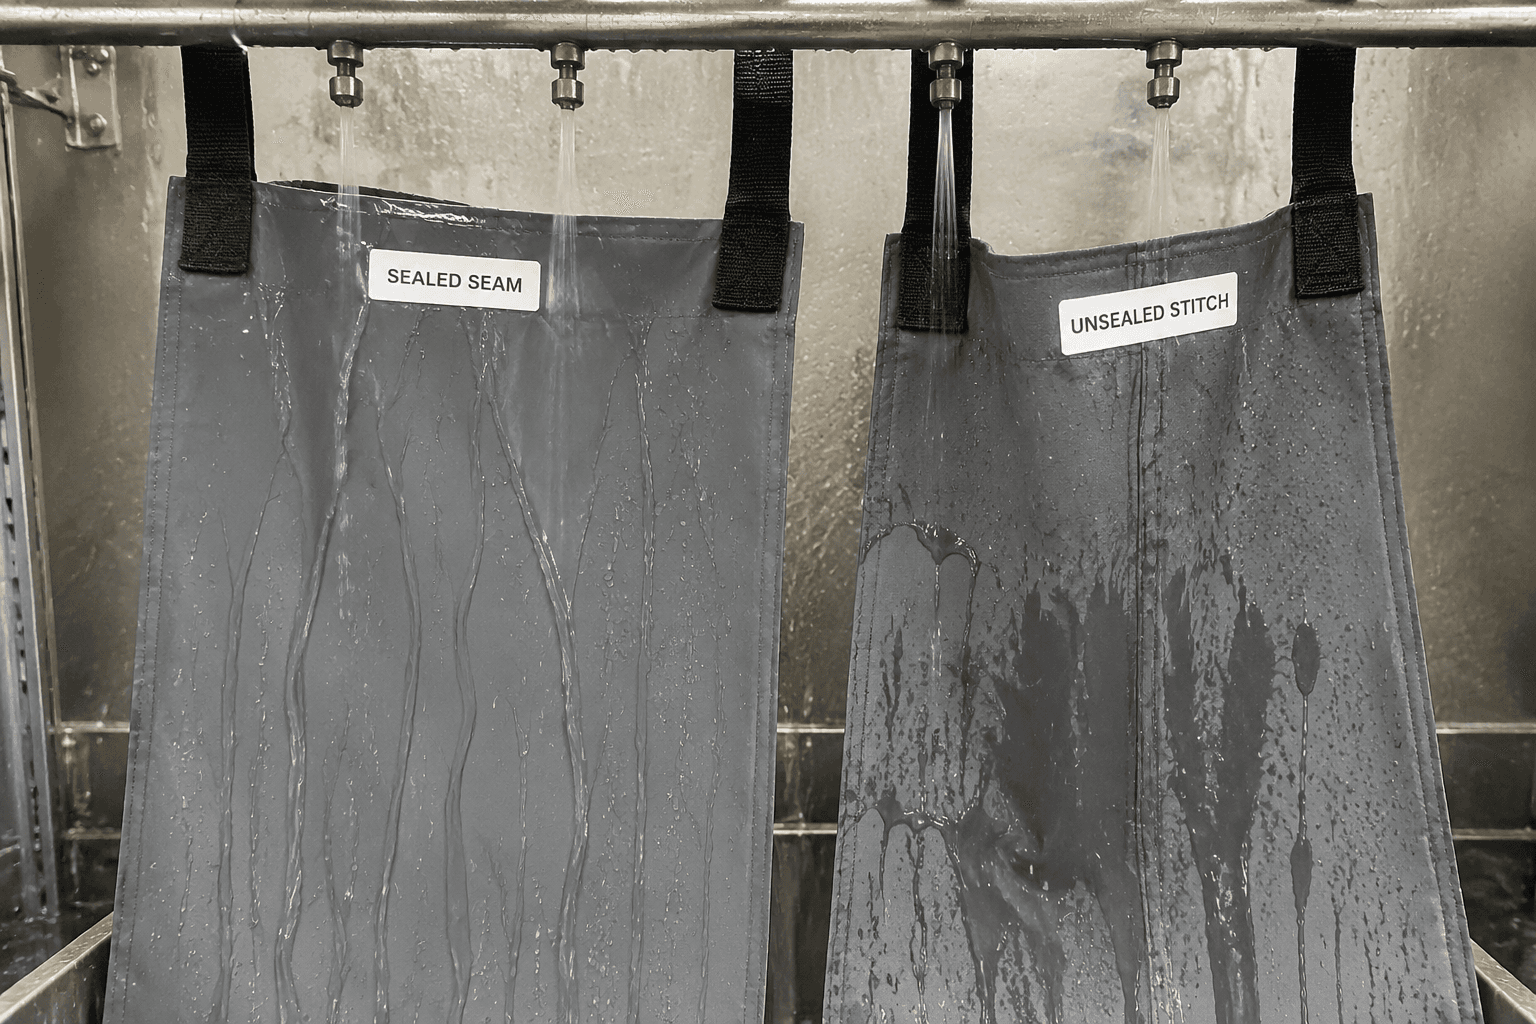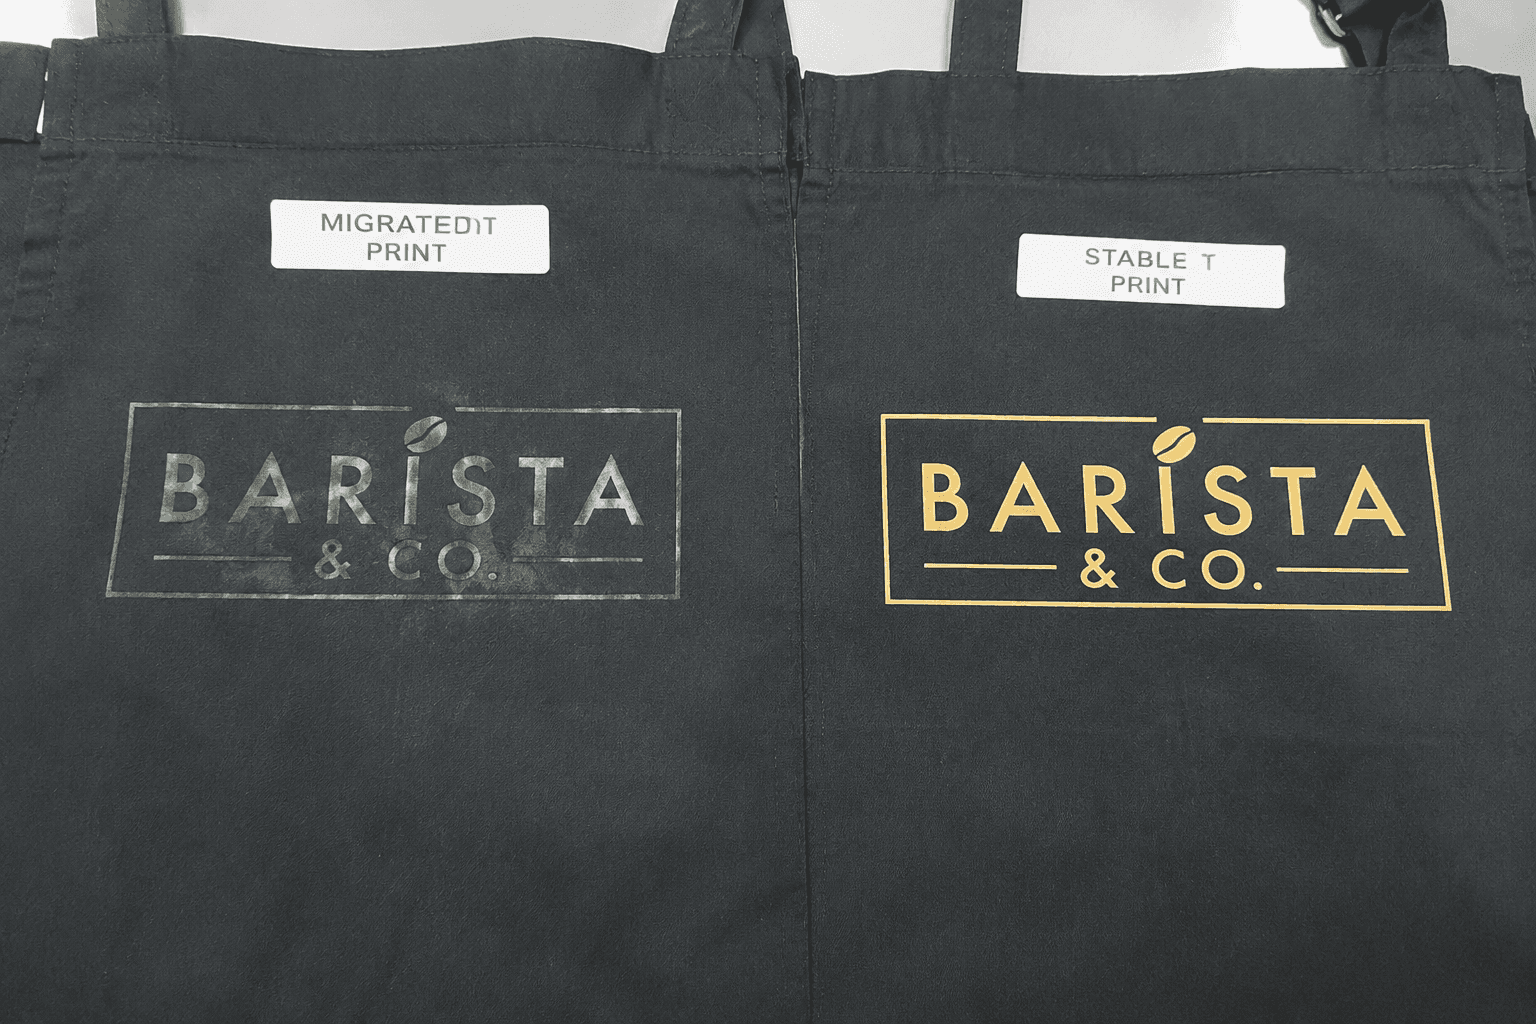
For professional B2B buyers, post-laundry appearance is a specification point tied to brand image, replacement cost, and account retention. Apron twisting after wash appears when the bib rotates off center, the neck loop pulls left or right, or the waist ties no longer drop evenly after repeated laundering. In OEM apron programs, root-cause reviews more often trace the defect to asymmetric strap attachment, off-grain cutting, uneven seam turn-back, or inconsistent reinforcement than to GSM alone.
The defect is easy to miss during first sample review because the original imbalance may be small: one neck join 5 mm higher, one waist tie inserted 4 mm deeper, or one top corner folded tighter before topstitching. Yet that small error becomes visible fast in 200 GSM poly-cotton twill, 230 GSM cotton canvas, or 8.5 oz denim once the apron goes through 3 to 5 industrial wash cycles or 10 to 20 home washes. Heavier fabric can make the defect look worse because the front panel hangs flatter and shows rotation more clearly.
For private-label apron sourcing, prevention is inexpensive when the controls are written into the tech pack, PP approval, and QC checklist. Buyers who define bilateral strap tolerances, grain alignment rules, wash-test criteria, reject limits, and AQL handling typically add only $0.02 to $0.07 per piece and 1 to 2 development days. That is far cheaper than rework, claim freight, or replacing stock after delivery.
- Keep finished left-right strap placement within ±3 mm; premium uniform and hospitality programs often tighten this to ±2 mm.
- Treat apron twisting after wash as a combined cutting, construction, and fabric-stability issue; do not try to solve it with GSM changes alone.
- Wash-test at least 3 PP samples for 3 cycles; raise to 5 cycles for denim, washed canvas, or industrial-laundry channels.
- Write reject criteria into the QC file, such as more than 15 mm off-vertical hang deviation, visible top-edge skew, or uneven waist-tie drop after wash.
- Most anti-twist controls do not change MOQ; standard custom apron programs still sit around 500 to 1,000 pcs per color.
- A practical inspection standard is AQL 2.5 major / 4.0 minor plus a dedicated post-wash appearance check on PP, TOP, or retained washed samples.
Why apron twisting after wash usually starts at strap attachment symmetry
In a bib apron, the neck strap, waist ties, and body panel work as one load path. If the left and right attachment points are not symmetrical, washing exposes the imbalance quickly. A left waist tie sewn 6 mm higher than the right, a neck strap inserted 5 mm deeper on one side, or a top corner folded 4 mm tighter can pull the bib off vertical after only a few laundry cycles.
That is why buyers should review strap geometry before asking for heavier fabric. A 240 GSM canvas or 9 oz denim may make the distortion easier to see because the apron hangs with a cleaner front. A lighter 190 to 205 GSM twill can look straighter if the panel is cut on grain and the attachments are balanced. Fabric weight changes visibility; attachment symmetry often determines whether the defect exists in the first place.
For orders above 2,000 to 3,000 pcs per color, the simplest control is to convert strap placement into measurable checkpoints. Factories can check distance from center front, finished top edge, side seam, insertion depth, and bartack position with a hard template or acrylic guide. In most sewing rooms, that adds only a few seconds per bundle and does not slow line output materially.
- Set left and right neck joins from one center-front datum, not from separately folded edges.
- Hold strap insertion depth to ±2 mm; a 4 mm difference can change pull direction after wash.
- Measure waist-tie height after pressing, because unpressed checks can hide a 3 to 5 mm mismatch.
- Keep top bib seam allowance balanced side to side so the upper edge releases evenly in laundering.
How to write tech-pack tolerances that prevent apron twisting after wash
Many post-wash apron claims begin with incomplete specifications rather than poor factory effort. A sketch that shows approximate strap placement is not enough for bulk production, especially when several operators or lines are involved. If the line interprets placement visually, small left-right differences become normal variation and then turn into visible skew after washing.
A stronger apron tech pack should specify center-front to left neck join, center-front to right neck join, finished top edge to waist-tie top edge, strap insertion depth, finished strap width, bartack start point, bartack length, box-stitch size if used, and seam allowance at every attachment point. For mainstream hospitality and food-service programs, practical targets are ±3 mm for bilateral strap placement, ±2 mm for bartack start position, and ±3% for finished strap width. Better-grade branded programs in the $3.50 to $6.80 FOB range often tighten strap placement to ±2 mm.
Contrast details raise the risk. Black webbing on natural canvas, herringbone tape on white twill, PU trim, and cross-back constructions all make small alignment errors easier to see. A 4 mm error that may pass unnoticed on a promotional apron becomes obvious on a café, bakery, or retail uniform apron where the strap lines are exposed. Adding one extra PP review day usually costs far less than handling appearance claims after shipment.
- State the finished bilateral strap tolerance clearly, such as ±3 mm or ±2 mm for premium programs.
- Define all measurements from stable references: center front, finished top edge, and finished side seam.
- Record reinforcement details, including bartack length, stitch density, and orientation, so both sides are built the same way.
- Require one flat measurement photo and one worn-hang photo in the PP approval record.
- If production will run on two or more lines, require the same attachment template and sewing sequence on every line.
Separate fabric stability from construction faults in apron twist after repeated wash
Fabric matters, but buyers should separate cloth instability from construction imbalance. Fabric-related distortion includes shrinkage, skew, bow, and unstable finishing. On apron programs, common residual shrinkage targets are under 3% warp and under 3% weft after the agreed care method. Institutional laundry programs often tighten that target to 2.5% or below. If shell fabric moves beyond those limits, even correctly centered straps may not keep the apron hanging straight.
However, suppliers often try to solve apron twist after repeated wash by increasing GSM when the actual problem is sewing balance or cutting discipline. A 65/35 poly-cotton twill at 200 GSM can stay straight after laundering if it is cut on grain and sewn symmetrically. A 250 GSM slub canvas can still twist if one side seam is eased more than the other, one top corner is over-pressed, or one waist tie is attached under higher thread tension. Mill shrinkage data alone does not identify those faults.
From a sourcing-cost view, fabric substitution is usually the more expensive correction. Moving from a 190 GSM cotton twill to a compact 240 GSM canvas can add roughly $0.20 to $0.42 per piece at volumes of 1,000 to 5,000 pcs, depending on dye method and finish. By comparison, adding a placement jig, bilateral in-line measurement, and washed PP approval usually costs less than $0.05 per piece. For most commercial apron orders, sewing control delivers a better return than heavier shell fabric.
- Check fabric skew and bow before cutting, especially on canvas widths above 57 inches.
- Request shrinkage data under the actual care method: home wash, industrial wash, garment wash, or enzyme wash.
- Lay washed samples back over the pre-wash pattern to see whether distortion starts in the body panel or at the attachments.
- Do not upgrade GSM until symmetry, grain alignment, seam balance, and reinforcement method are reviewed.
The production faults that most often cause apron twisting after wash
Factory reviews usually point to the same failure points. The first is off-grain cutting, often introduced when the cutting room tries to improve marker yield on soft twill, brushed cotton, or washed canvas. If the bib panel is off grain by even 2% to 3%, the apron already carries torque before sewing starts. After laundering, that torque becomes obvious.
The second is uneven sewing feed at the strap joins. One side may be slightly gathered into the seam while the opposite side remains flat, creating different stress release during washing and drying. The third is inconsistent top-edge turn-back. If the left top corner is folded tighter or pressed harder than the right, the neck area does not relax evenly after wash and the bib rotates.
Reinforcement can also create distortion when it is not scaled to the shell fabric. On lighter aprons in the 150 to 170 GSM range, over-dense bartacks can pull the panel around the stress point. On thicker 8.5 to 10 oz canvas, a more common fault is angle mismatch, where one strap enters straight and the other enters on a slight diagonal. Another recurring problem is mixed construction within one PO. If one line uses inserted waist ties and another uses top-applied box stitching, both may pass seam-strength tests but produce different post-wash hang in the same shipment.
- Off-grain body cutting creates torque before the first wash cycle.
- Unequal feed or thread tension at strap joins can gather one side and shift the bib off center.
- Over-dense bartacks on lighter fabrics can distort the panel around the attachment point.
- Mixed sewing methods across lines reduce appearance consistency within one production lot.
- Uneven top-edge folding changes local stiffness and becomes visible after laundering.
Wash-test standards buyers should require for apron twist after repeated wash
A credible apron approval process must include post-wash appearance, not only size, color, and seam strength. For most OEM apron programs, buyers should request at least 3 PP samples made from bulk-intended fabric, straps, thread, and reinforcement details. Wash them for 3 cycles minimum under the agreed care method. For higher-risk styles such as yarn-dyed denim, garment-washed canvas, slub cotton, contrast-webbing aprons, or styles sold into industrial laundry channels, increase the test to 5 cycles before bulk release.
The wash method must match the end use. A home-laundry promotional apron may only need a domestic 40°C wash with tumble dry low. A food-service, butcher, bakery, hotel, or institutional apron should be tested closer to commercial conditions, such as 60°C wash, stronger mechanical action, and line dry or tunnel finish depending on the account. It is common to see an apron pass 3 home washes and still fail appearance after 5 industrial cycles because asymmetry shows up faster under harsher handling.
Record measurements as well as visual results. Buyers should log left-right strap height difference, center-front deviation from vertical while hanging, top-edge warping, side-seam shift, and uneven waist-tie drop. A practical reject limit for many branded apron programs is more than 15 mm body rotation from vertical over the full length after washing, or any clearly visible diagonal hang when worn. These criteria belong in the PP record and QC appendix, not only in email.
For shipment inspection, many buyers keep workmanship at AQL 2.5 major / 4.0 minor and then add a focused appearance review on washed retained samples or TOP pieces. That gives the factory a clear compliance path without materially increasing inspection cost or delaying shipment.
- Use at least 3 PP samples with bulk fabric, bulk straps, and actual reinforcement details.
- Run 3 wash cycles as the baseline; raise to 5 cycles for denim, washed canvas, or industrial-laundry programs.
- Measure strap height difference, vertical hang deviation, top-edge skew, side-seam movement, and tie-drop balance after wash.
- Set rejection criteria in writing, including visible diagonal hang or more than 15 mm off-vertical rotation.
- Align AQL handling and post-wash appearance checks before bulk starts, not after TOP review.
Cost, MOQ, and lead-time impact of anti-twist controls in bulk apron sourcing
Most controls that prevent apron twisting after wash are process controls, not BOM upgrades. On standard bib apron orders with MOQs of 500 to 1,000 pcs per color, adding a strap-position template, bilateral in-line measurement, and one PP wash checkpoint usually does not change MOQ. For repeat programs, the approved template and tolerance sheet can normally be reused across future purchase orders.
The lead-time effect is modest when the requirements are fixed early. Counter samples commonly stay within 7 to 10 days, PP confirmation within 5 to 7 days, and bulk production within 25 to 40 days, depending on fabric stock, dyeing, printing, embroidery, and order size. Wash validation usually adds only 1 to 2 days to development. If twisting is discovered only at TOP stage or after arrival, correction becomes much slower because the issue may involve pattern, cutting, sewing, and pressing at the same time.
The cost increase is small relative to the financial risk. For basic custom bib aprons in a rough $1.90 to $4.60 FOB range, stronger symmetry control often adds $0.02 to $0.06 per piece. More complex styles with cross-back straps, rivets, multiple patch pockets, or PU tabs may add $0.05 to $0.09 per piece because there are more alignment checkpoints. That remains minor compared with replacement, claim freight, resorting, or markdown exposure, which can easily exceed $0.80 to $1.50 per piece.
For B2B buyers, the commercial conclusion is straightforward: write the symmetry rule early, test it before bulk, and keep the factory measuring the same way every time. That prevents quality drift without turning a standard apron program into a slow or expensive one.
- Construction-based anti-twist controls usually keep MOQ unchanged at 500 to 1,000 pcs per color.
- Sampling commonly increases by only 1 to 2 days when wash validation is included.
- Standard bulk lead time usually remains around 25 to 40 days if requirements are fixed before PP approval.
- Control costs of $0.02 to $0.06 per piece are usually far lower than replacement and claim costs.