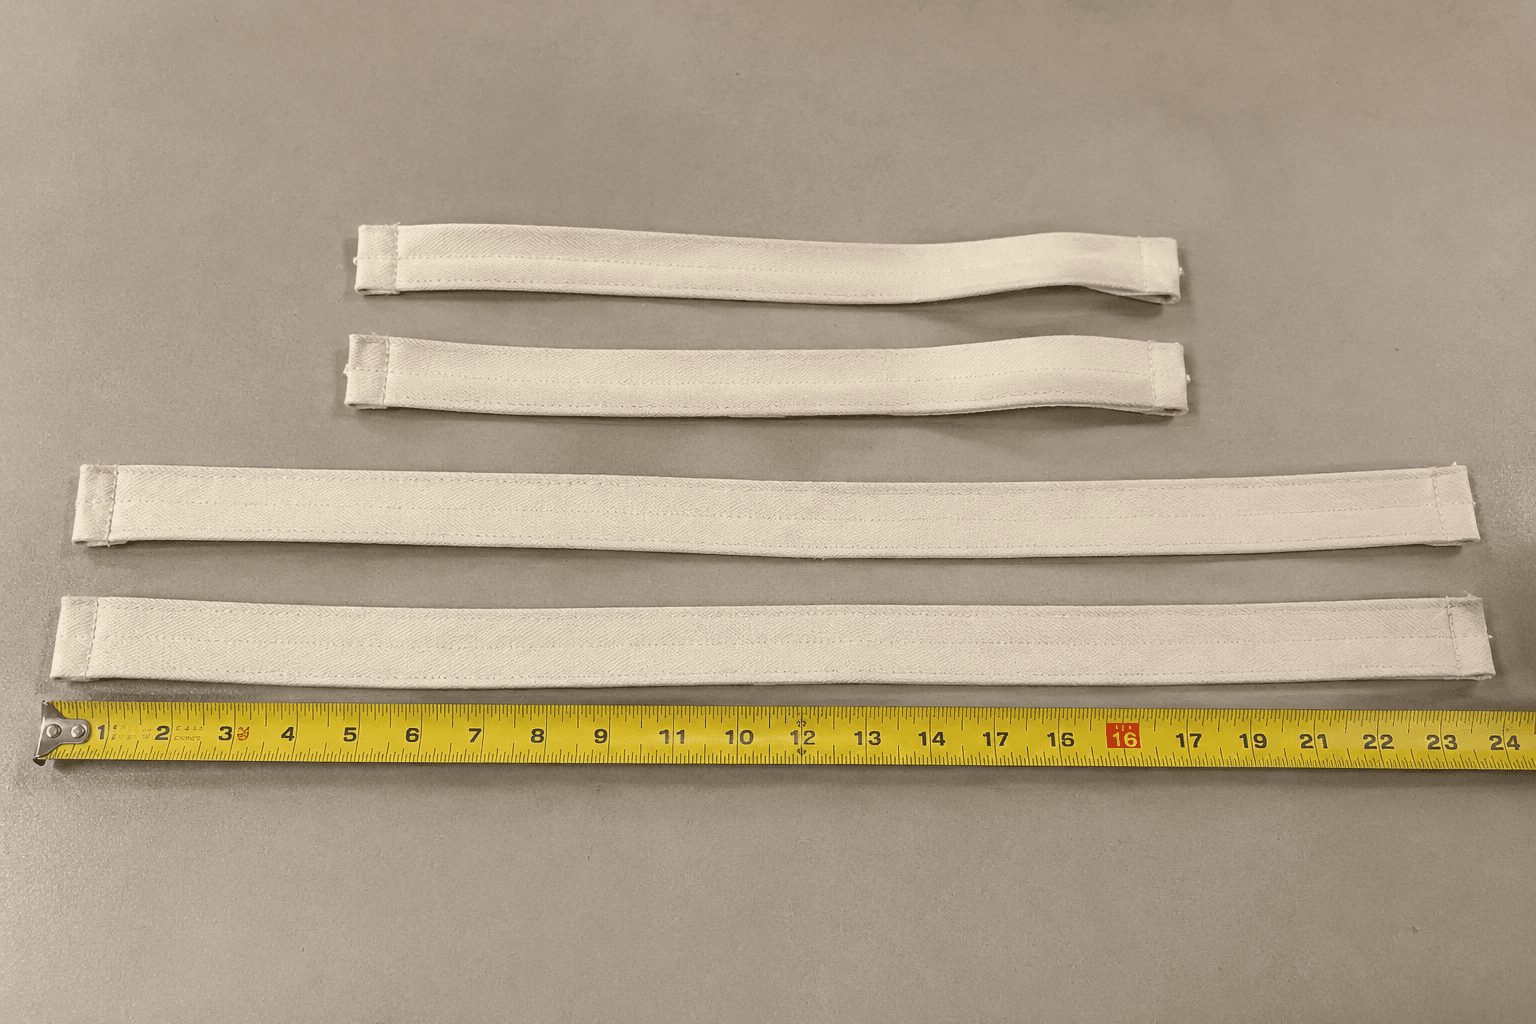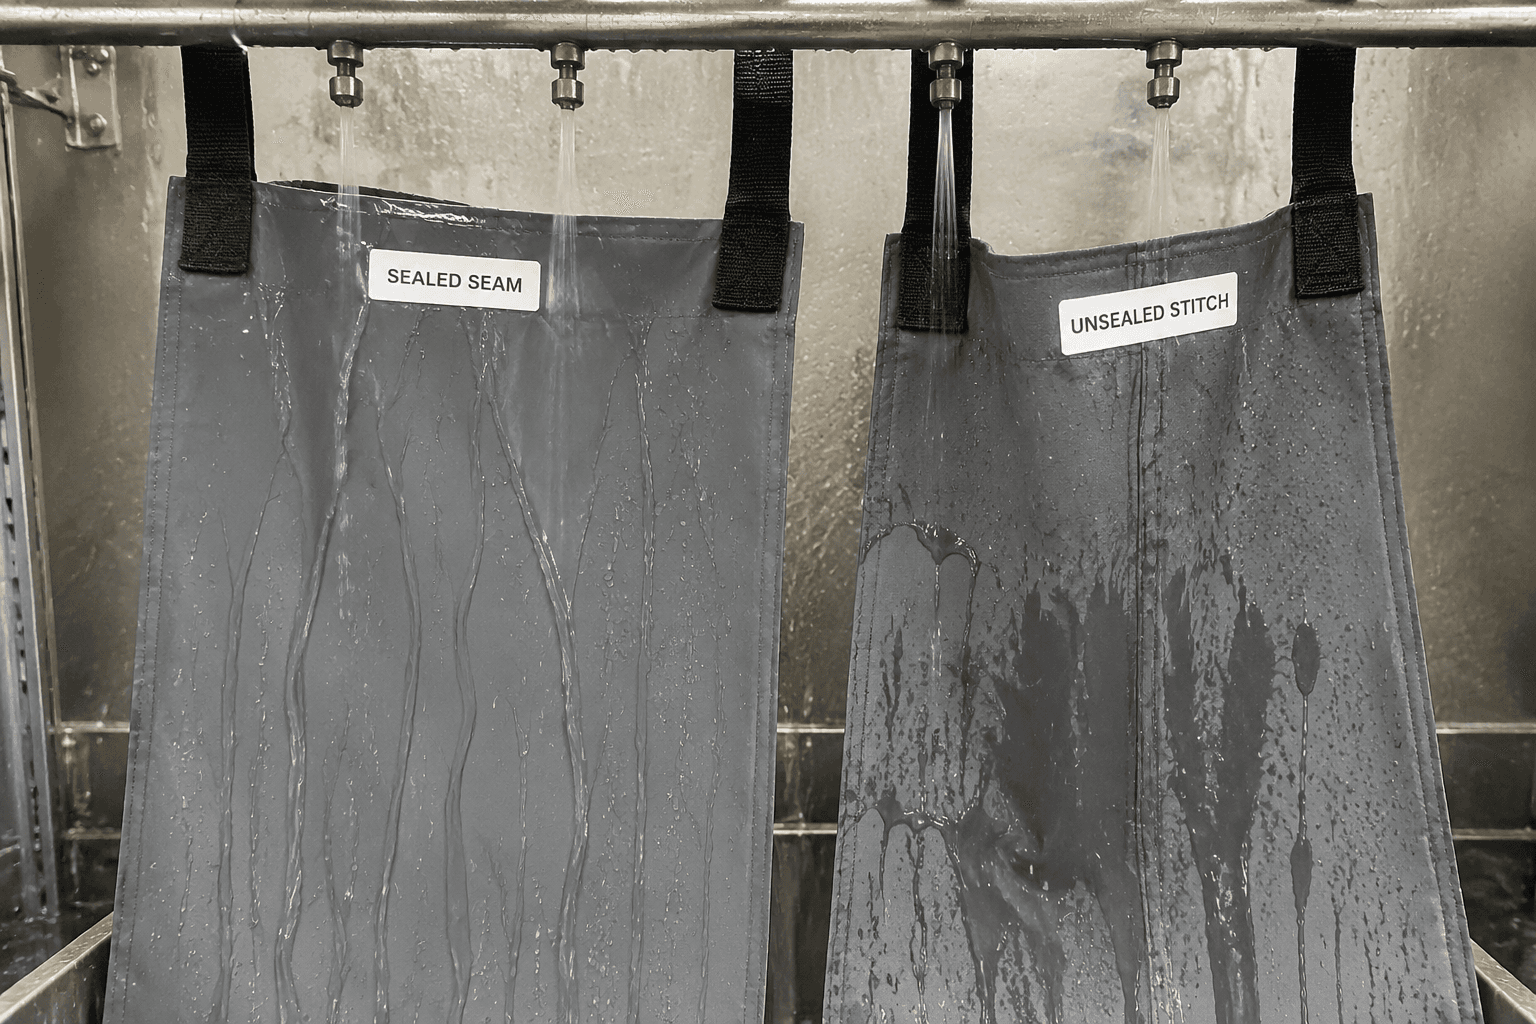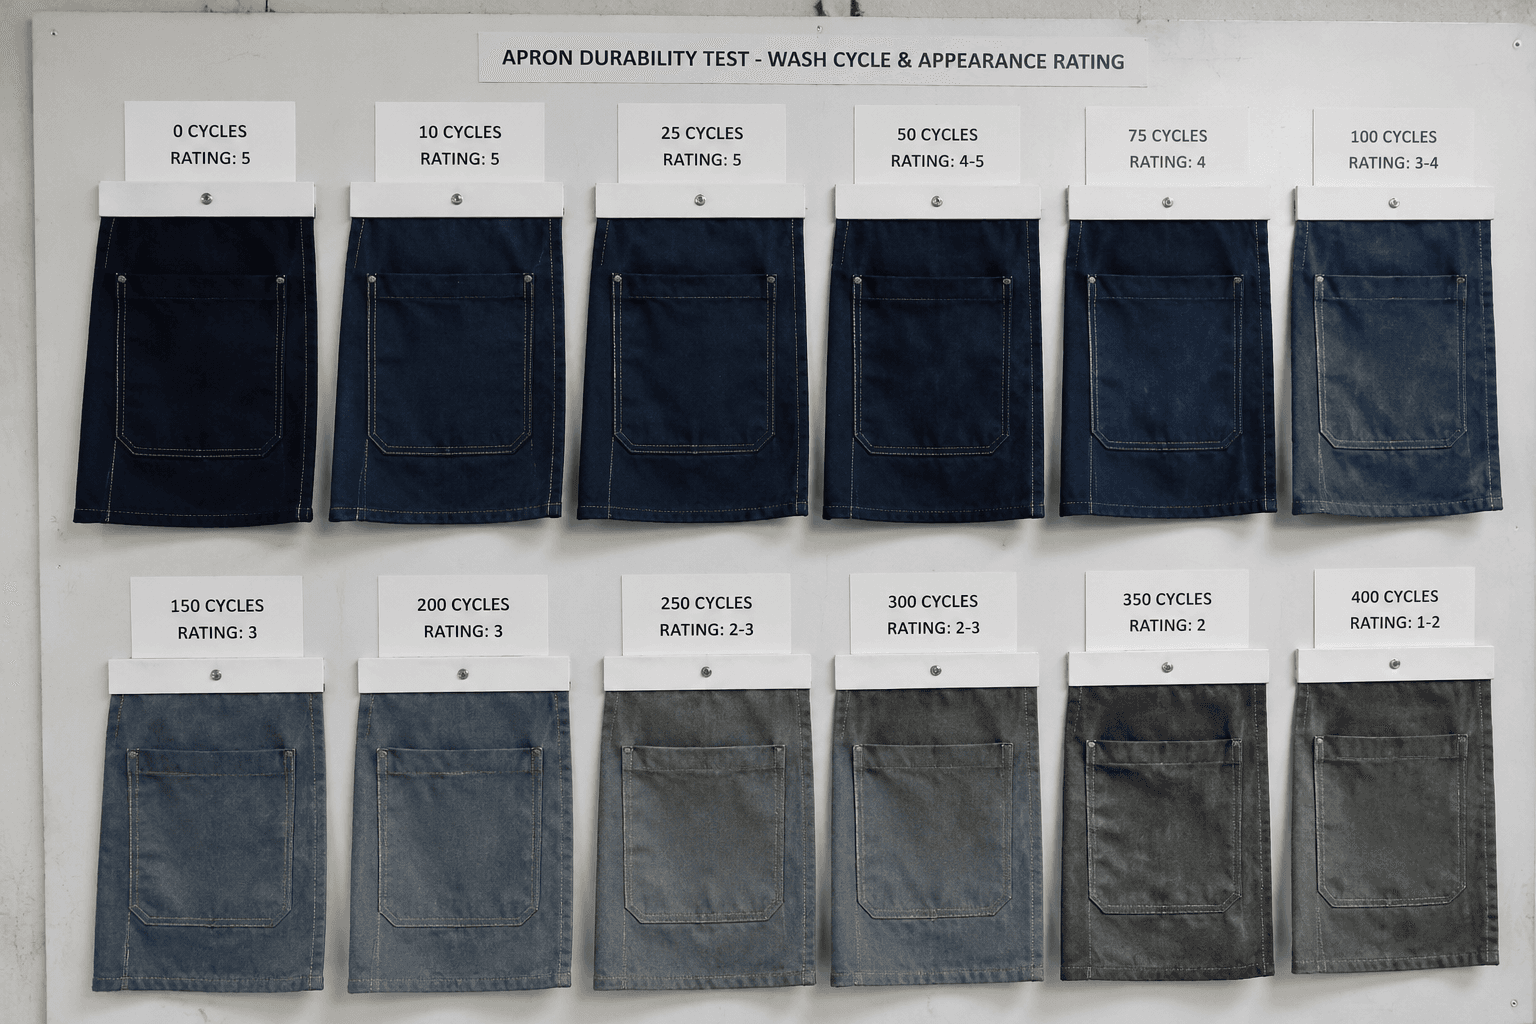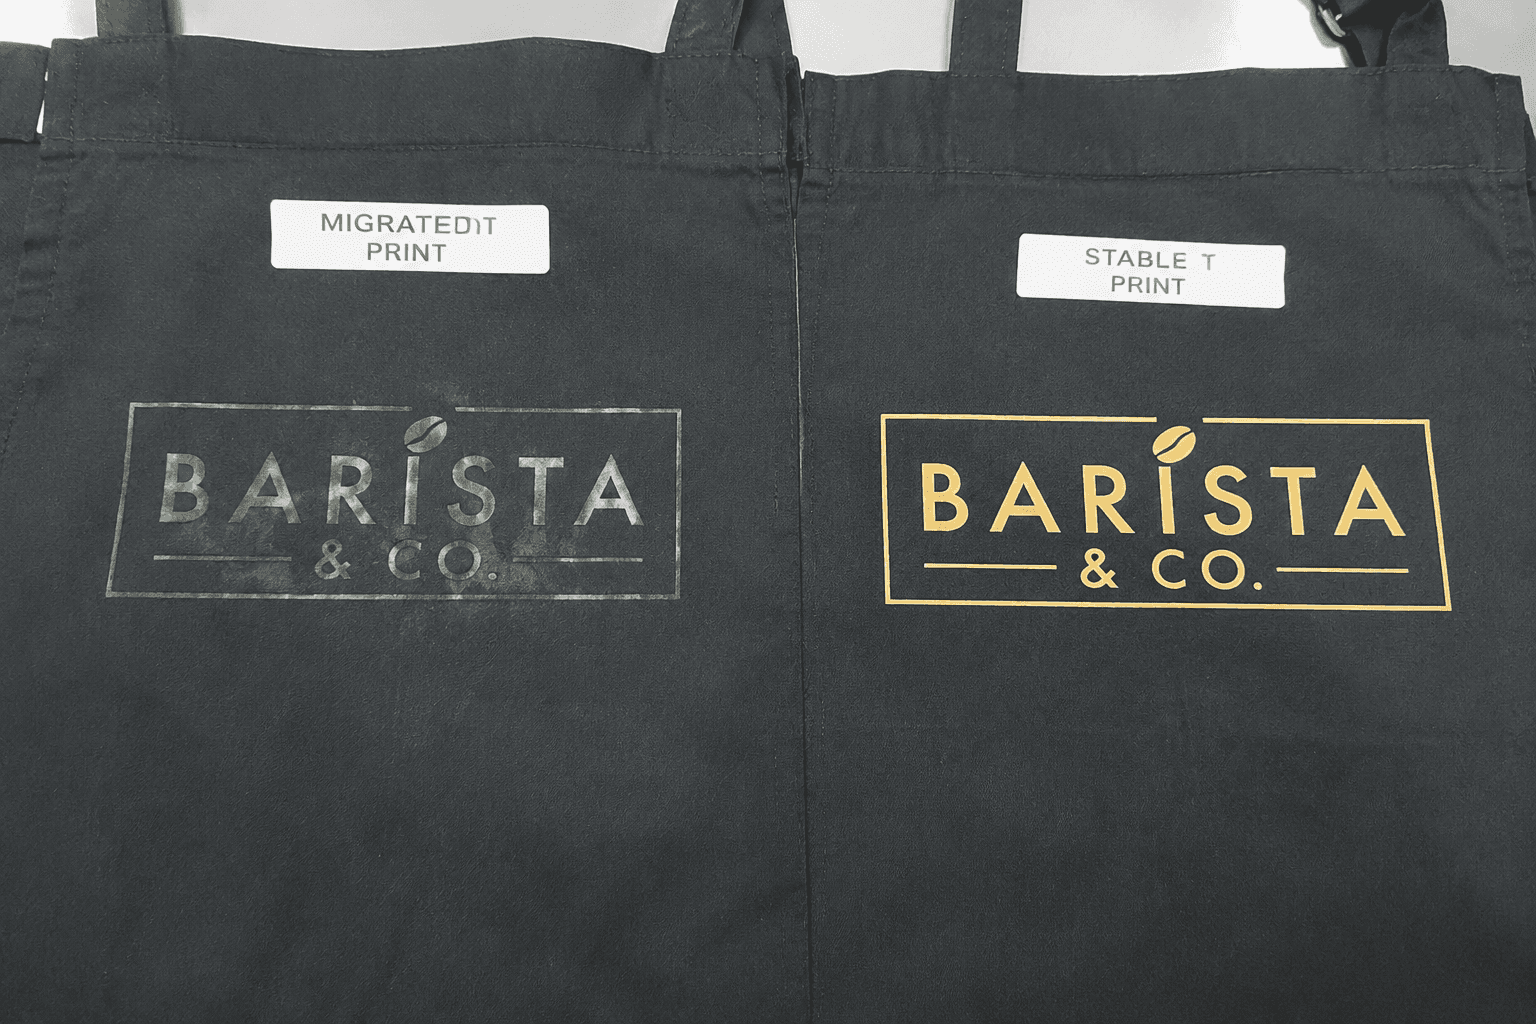
Logo defects on aprons usually appear after most of the value has already been added. A grey halo around a white chest logo on a 260 GSM black bib apron may look minor on one salesman sample, but across 3,000 pcs it becomes a visible brand failure. The cause is rarely one item. Fabric dye, transfer adhesive, coating finish, heat press temperature, dwell time, pressure, seam thickness, pocket placement, folding method, and storage heat can all contribute.
Apron logo migration testing is the pre-production process used to prove that a heat transfer, silicone print, screen print, reflective transfer, rubber patch backing, woven label adhesive, or embroidered badge backing remains stable on the selected apron fabric. It matters most on black, navy, burgundy, charcoal, forest green, and reactive-dyed cotton twill, where even slight dye movement shows through pale decoration.
For sourcing teams, the target is not a perfect lab swatch detached from production. The target is an approval route that survives factory conditions: 145-165 C heat pressing, 8-15 seconds dwell, 2.5-5.0 bar pressure, 24-72 hours of post-press rest, 40-60 C wash cycles, and 25-40 days of packed transit. A two- to seven-day test window is small compared with rejecting finished aprons that already include pockets, straps, bartacks, care labels, polybags, and export cartons.
- Apron logo migration testing must be done on the approved bulk fabric or pre-production fabric lot, not only on a transfer supplier's stock swatch.
- Dark polyester-rich twill, reactive-dyed cotton, denim, waxed canvas, PU-coated panels, and oil-finished apron fabrics create different risks for dye movement, surface imprinting, and adhesion loss.
- A practical approval set includes press trials, 24-72 hour rest, warm storage, folding pressure, rubbing, wash cycles, and inspection under D65 and factory light.
- White, cream, pale grey, neon, metallic, and reflective logos need stricter review because small color shifts are visible and difficult to repair after pressing.
- Low-migration film, blocker layers, silicone systems, stitched patches, embroidery, or adjusted press settings are usually cheaper than scrapping decorated aprons.
- Buyers should approve logo stability together with fabric GSM or oz, shrinkage, colorfastness, wash claim, placement tolerance, and AQL inspection limits.
1. Apron logo migration testing before cutting 500-10,000 pcs
Aprons meet heat at several points. The logo is applied by heat press, finished aprons may receive steam touch-up before packing, and end users may wash, tumble dry, or iron them again. A chef apron can pass through a 60-80 C tunnel dryer. A barista apron may be pressed after laundering. A workshop apron can sit in a sealed carton in a hot warehouse for four to six weeks. If the decoration system is marginal, these normal conditions can create adhesive bleed, transfer discoloration, or a ghost rectangle even when the first pressed sample looked acceptable.
In factory terms, migration means unwanted movement of dye, adhesive, plasticizer, coating component, finish, or ink into an adjacent layer. On aprons it appears as a grey halo around a white transfer, a red or blue cast inside pale ink, a sticky outline around a rubber patch, a glossy carrier-sheet rectangle, or a dull pressure mark on waxed canvas. Some defects show immediately. Others become clear only after 24-48 hours because heat activates the adhesive and the fabric continues to relax after pressing.
The cost exposure is high because logos are normally added after cutting and sewing. If 5,000 pcs of 260 GSM black cotton twill bib aprons show ghosting after decoration, the buyer is not only losing the logo cost. The apron body, pocket panels, neck straps, waist ties, bartacks, metal eyelets, care labels, folding labor, polybags, and cartons are already consumed. At a realistic FOB range of USD 3.80-6.20/pc for mid-weight custom aprons, one missed test can become a five-figure claim.
- Run testing before bulk cutting when the fabric is dark, coated, waxed, polyester-rich, heavily washed, or new to the program.
- Repeat testing after any change in fabric mill, dye lot, finish recipe, transfer supplier, silicone ink, patch backing, or heat press setting.
- Keep one approved control panel, one finished apron sample, and any failed-limit sample in the order file for inline inspection and claim review.
2. Fabric risks behind heat transfer bleed on aprons
Polyester-rich apron fabrics are the most common source of dye migration into pale logos. A 65/35 poly-cotton twill at 210-240 GSM can sew cleanly and pass shade approval, but disperse dye may move when the transfer is pressed at 150-160 C for 10-15 seconds. The result is usually a faint blue, red, brown, or charcoal tint inside a white or cream logo. For black polyester service aprons, a low-migration transfer film with an opaque blocker layer is normally safer than a standard PU film developed for T-shirts.
Cotton has lower sublimation risk, but it is not risk-free. Reactive-dyed cotton twill in black, navy, or burgundy at 240-320 GSM can still create shadowing if residual dye, silicone softener, resin finish, or high pressure interacts with the adhesive. Heavy 10 oz or 12 oz cotton canvas may bond unevenly because the weave is textured. Enzyme-washed denim aprons can vary by lot because abrasion opens the fiber surface differently across bib panels, pockets, and straps.
Waxed canvas, oil-finished fabrics, and PU-coated apron panels need separate approval. Heat can shift wax or oil and leave a rectangular gloss mark around the logo. PU coatings may soften, imprint, or reduce adhesion after folding. On these materials, the defect may not be dye bleeding through the print. It may be surface distortion, adhesive halo, tackiness after 72 hours, or edge lift where the apron bends around a pocket or strap area.
- 65/35 or 80/20 poly-cotton twill, 210-280 GSM: check dye sublimation into white, cream, and pale grey transfers.
- 100% cotton twill, 240-320 GSM: check residual dye, softener reaction, shrinkage, and pressure marks.
- 10 oz to 12 oz cotton canvas: check textured bonding, carrier marks, and hand feel after pressing.
- Waxed or oil-finished canvas: check finish movement, gloss rectangles, and adhesion loss after bending.
- PU-coated panels: check melting, imprinting, edge lift, and tackiness after 24-72 hours.
- Denim aprons: test each wash level because indigo shade, enzyme treatment, and abrasion depth can change logo behavior.
3. Apron logo migration testing protocol with day counts and sample panels
A useful protocol copies the real order. Test panels should be cut from the approved bulk fabric roll or pre-production fabric lot, not from old counter swatches or transfer vendor fabric. For each logo color and method, prepare at least three press panels: one at the intended production setting, one at the upper temperature and pressure tolerance, and one at a lower-temperature route if the film supplier supports it. For a common PU heat transfer on 260 GSM twill, the starting point is often 150-155 C, 10-12 seconds, and 3.0-4.0 bar medium pressure.
Approval should not happen while the panel is still warm. Let samples cool flat, then inspect after 24 hours. For higher-risk apron programs, add 48-72 hours of rest plus a 50 C warm-storage check for 24 hours to simulate carton heat. Inspect under D65 light and normal factory light, from flat and angled views. Record fabric composition, GSM or oz, shade name, logo batch, press temperature, dwell time, pressure, peel method, rest time, and operator.
The pass standard must be direct: no visible dye staining through the logo, no adhesive halo beyond the logo edge, no carrier ghost mark, no tackiness, no edge lift after bending, and no unacceptable stiff hand. If the logo crosses a pocket, seam, bib top fold, or reinforcement patch, test that construction on a finished apron sample. Uneven thickness changes pressure and can create partial bonding even when a flat panel passes.
- Panel A: standard setting, for example 153 C, 12 seconds, 3.5 bar, warm peel or cold peel as specified.
- Panel B: upper stress setting, for example 160 C, 15 seconds, 4.5 bar, to expose migration risk.
- Panel C: low-temperature setting, for example 135-145 C, 12-15 seconds, if the film is designed for it.
- Panel D: folded storage sample, logo-to-fabric contact for 48-72 hours under light pressure.
- Panel E: wash sample, 3-5 cycles for initial screening or 10-50 cycles for uniform programs.
- Panel F: finished apron sample with actual pocket, seam, strap, reinforcement, and packing method when the logo sits near construction bulk.
4. Choose logo methods for dark apron fabrics before fabric approval closes
Dark apron logo issues are most visible when buyers request sharp white, cream, metallic silver, neon, or reflective branding on black, navy, burgundy, forest green, or charcoal aprons. The contrast is commercially useful for cafe, restaurant, hotel, salon, and retail uniforms, but it leaves little tolerance for dye movement. A pale logo that shifts half a shade can look dirty against a black bib panel.
The first decision is fabric. A 100% polyester black twill offers wrinkle recovery and shrinkage control, but it has higher sublimation risk under heat. A cotton-rich fabric such as 80/20 cotton-poly twill at 260-280 GSM may reduce sublimation, but it still needs shrinkage control, usually within 3-5% after washing for uniform use. A 10 oz or 12 oz cotton canvas gives stronger apron structure, but dark shades can fade faster in commercial laundry. The decoration route should be selected with the fabric, not after fabric approval is closed.
The second decision is the logo system. For pale logos on dark polyester or poly-cotton aprons, low-migration PU film with a blocker layer usually adds about USD 0.08-0.25/pc depending on logo size and order quantity. Silicone transfer can improve elasticity and heat resistance, but primer and backing adhesive still need testing on the final fabric. Screen print can work with a low-bleed underbase, though the hand becomes heavier on dense twill. On waxed canvas, a stitched woven patch, debossed leather patch, rubber label, or embroidery may be more reliable than heat pressing.
- Use blocker-layer transfers for white logos on black polyester or poly-cotton service aprons.
- Avoid pale heat transfers on waxed, oily, heavily brushed, or PU-coated fabrics unless testing proves adhesion and surface appearance.
- Improve opacity through the film or underbase structure, not by raising heat beyond the approved press window.
- Keep logos at least 10-15 mm away from thick seams, rivets, pocket corners, and bartacks when the design allows.
- Approve each apron color separately; passing on khaki does not prove passing on burgundy, navy, or black.
5. Apron logo migration testing for wash, folding, and carton storage
Commercial wash stability is stricter than a home laundry check. Restaurant, hotel, and catering aprons may be washed by outside laundries using stronger mechanical action, alkaline detergent, oxygen bleach, and tumble drying. A transfer that survives three home washes at 30 C may crack, lift, or discolor after 20 industrial-style cycles at 60 C. The wash claim must be chosen before the decoration method is approved.
Testing should match the buyer's use case. A promotional 180-220 GSM cotton apron may only need 5 domestic cycles at 40 C. A cafe uniform apron should normally be checked for 10-20 cycles at 40-60 C, with tumble drying if the customer uses commercial laundry. A rental laundry apron should request a formal 50-cycle test and accept that decoration cost may increase. Embroidery may be more durable in wash, but it can pucker thin twill and may not reproduce small lettering or gradients.
Storage matters because aprons are often packed tightly, shipped by sea for 25-40 days, then held in a distributor warehouse. A logo can pass immediate inspection and still develop a ghost mark after warm carton pressure. Conversely, a logo may survive storage but fail after detergent attacks the adhesive edge. Migration testing and wash testing should be treated as separate controls, both required for professional uniform programs.
- Light retail or promotional aprons: test at least 5 wash cycles at 40 C before bulk approval.
- Cafe and restaurant uniform aprons: test 10-20 cycles at 40-60 C, including tumble drying when relevant.
- Rental laundry aprons: request 50-cycle testing and define acceptable cracking, color shift, and edge lift limits.
- After each interval, check logo staining, adhesive halo, cracking, tackiness, edge lift, and hand feel.
- Measure apron body shrinkage at the same time; a stable logo on a distorted apron is still a failed product.
6. MOQ, lead time, cost, and AQL controls for apron logo approval
Migration testing adds time, but it is usually short compared with the risk it controls. For an existing fabric and existing transfer, an internal factory screen can often be completed in 2-4 working days. If a custom blocker film, silicone transfer, or patch sample is needed from the logo supplier, allow 5-8 working days after artwork approval. If a third-party wash report is required, allow 7-15 days depending on cycle count and lab queue.
Typical costs depend on method and quantity. A one-color heat transfer trial may cost USD 30-80 for setup and panels if no new screen is needed. A custom silicone transfer sample may cost USD 80-200. A molded rubber patch may require a USD 120-300 mold charge, with unit cost falling sharply above 2,000 pcs. Transfer suppliers often prefer MOQ of 500-1,000 pcs per design. Custom patches may start at 300-500 pcs, but pricing is usually more practical at 1,000-3,000 pcs.
Bulk inspection needs clear acceptance limits. For apron logo appearance, many buyers use AQL 2.5 for major defects and AQL 4.0 for minor defects. Ghosting, dye staining, tackiness, cracking, and edge lift should normally be treated as major defects because they affect brand appearance and wash durability. During production, inspect the first 10-20 pieces after pressing, then recheck after cooling and again after a 24-hour rest for high-risk orders. Re-inspect at every roll change, transfer batch change, shift start, or heat press adjustment.
- Basic internal migration screen: 2-4 working days when fabric and transfer are already available.
- Custom blocker or silicone strike-off: 5-8 working days after artwork and color approval.
- Third-party wash or colorfastness report: 7-15 days depending on cycle count and lab availability.
- Suggested inspection basis: AQL 2.5 major for visible logo staining, halo, tackiness, cracking, or edge lift.
- Production control: record temperature, dwell time, pressure, peel method, cooling time, and operator for each approved run.
7. Tech pack details that prevent apron logo migration disputes
A logo file is not enough for a reliable apron order. The tech pack should define fabric composition, construction, target GSM or oz, shade, finish, logo size, logo color standard, decoration method, placement tolerance, intended laundry condition, packing method, and rejection limits. It should also state whether the apron is for food service, coffee shops, salons, retail staff, workshop use, or rental laundry, because each end use changes the durability target.
A practical specification might read: black 65/35 poly-cotton twill, 240 GSM, bib apron with front pocket, white chest logo 85 mm wide, centered within +/-5 mm, low-migration PU transfer with blocker layer, approved press setting 153 C for 12 seconds at 3.5 bar, cold peel, 24-hour rest before packing, 20 wash cycles at 40 C, tumble dry low, no chlorine bleach. This level of detail gives the apron factory, fabric mill, and logo supplier the same target.
Buyers should require apron logo migration testing on the final fabric before bulk cutting or PO release. Approval should include the fabric lab dip or bulk lot, logo strike-off, press record, wash result, warm-storage check, and one finished apron sample. Operators should not raise temperature casually to improve adhesion; if edge lift appears, the correct response is to review film type, pressure, dwell time, cooling, and fabric finish. A controlled approval process gives the buyer a clear basis to change the fabric, add a blocker, lower the press temperature, move the logo, switch to embroidery, or use a stitched patch before finished aprons are at risk.
- Specify exact fabric, for example 80/20 cotton-poly twill, 270 GSM, reactive dyed navy, pre-shrunk to within 3-5%.
- Specify logo method, size, color, and placement tolerance, for example chest center 90 mm wide, Pantone white, +/-5 mm.
- Specify wash expectation, for example 20 cycles at 40 C, tumble dry low, no chlorine bleach, no high-temperature tunnel drying.
- Require test evidence for ghosting, adhesive halo, dye staining, cracking, tackiness, edge lift, and carrier marks.
- Keep approved samples and failed-limit samples available for inline inspection, final inspection, and claim review.